A quick-start guide to extensions
Extensions are custom-built elements that let you add new functionality to Experience Designer. They can be used to build guided selling steps, configuration logic or custom flows.
This quick start shows how to create and test an extension using the new local development workflow, which is the fastest way to get started.
You will:
- Set up your environment.
- Generate a sample extension.
- Start a local server.
- Load the extension directly into Experience Designer.
Local development with automatic server
Use this workflow to create and test an ExD extension quickly. It sets up local hosting, creates the component and updates changes live.
Requirements:
- Mozilla Firefox or Edge (Chrome blocks the local server used by this workflow)
- Node.js - version
20.19.1.
If you cannot use Firefox or Node 20.19.1, follow the CLI-based workflow instead.
Step 1: Create a local project
Pick any local folder. Then right-click and open a terminal there.
Step 2: Start the local ExD connection server
- Log into Experience Designer's dev mode: https://orca-experience.zoovu.com/developer
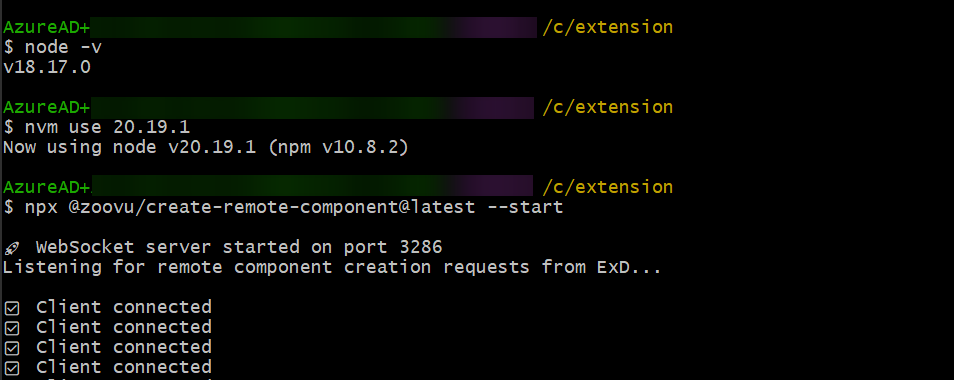
- Check your Node version with this command:
node -v. If Node20.19.1is already installed, runnvm use 20.19.1. Otherwise, switch versions using a Node version manager (nvm / nvm-windows). - Run the following command:
npx @zoovu/create-remote-component@latest --start
What you should see:
- a WebSocket server starts
- a message like: “Listening for remote component creation requests from ExD…”
Keep this terminal open.
At this point, no project exists yet and yarn dev will fail (expected). If you don’t see the success toast, make sure that
the --start terminal is still running and refresh the page once.
What happens next:
- A local server starts automatically.
- The server connects to Experience Designer in developer mode.
- A new remote component is created for you.
- This is what you will see in the terminal (Windows):
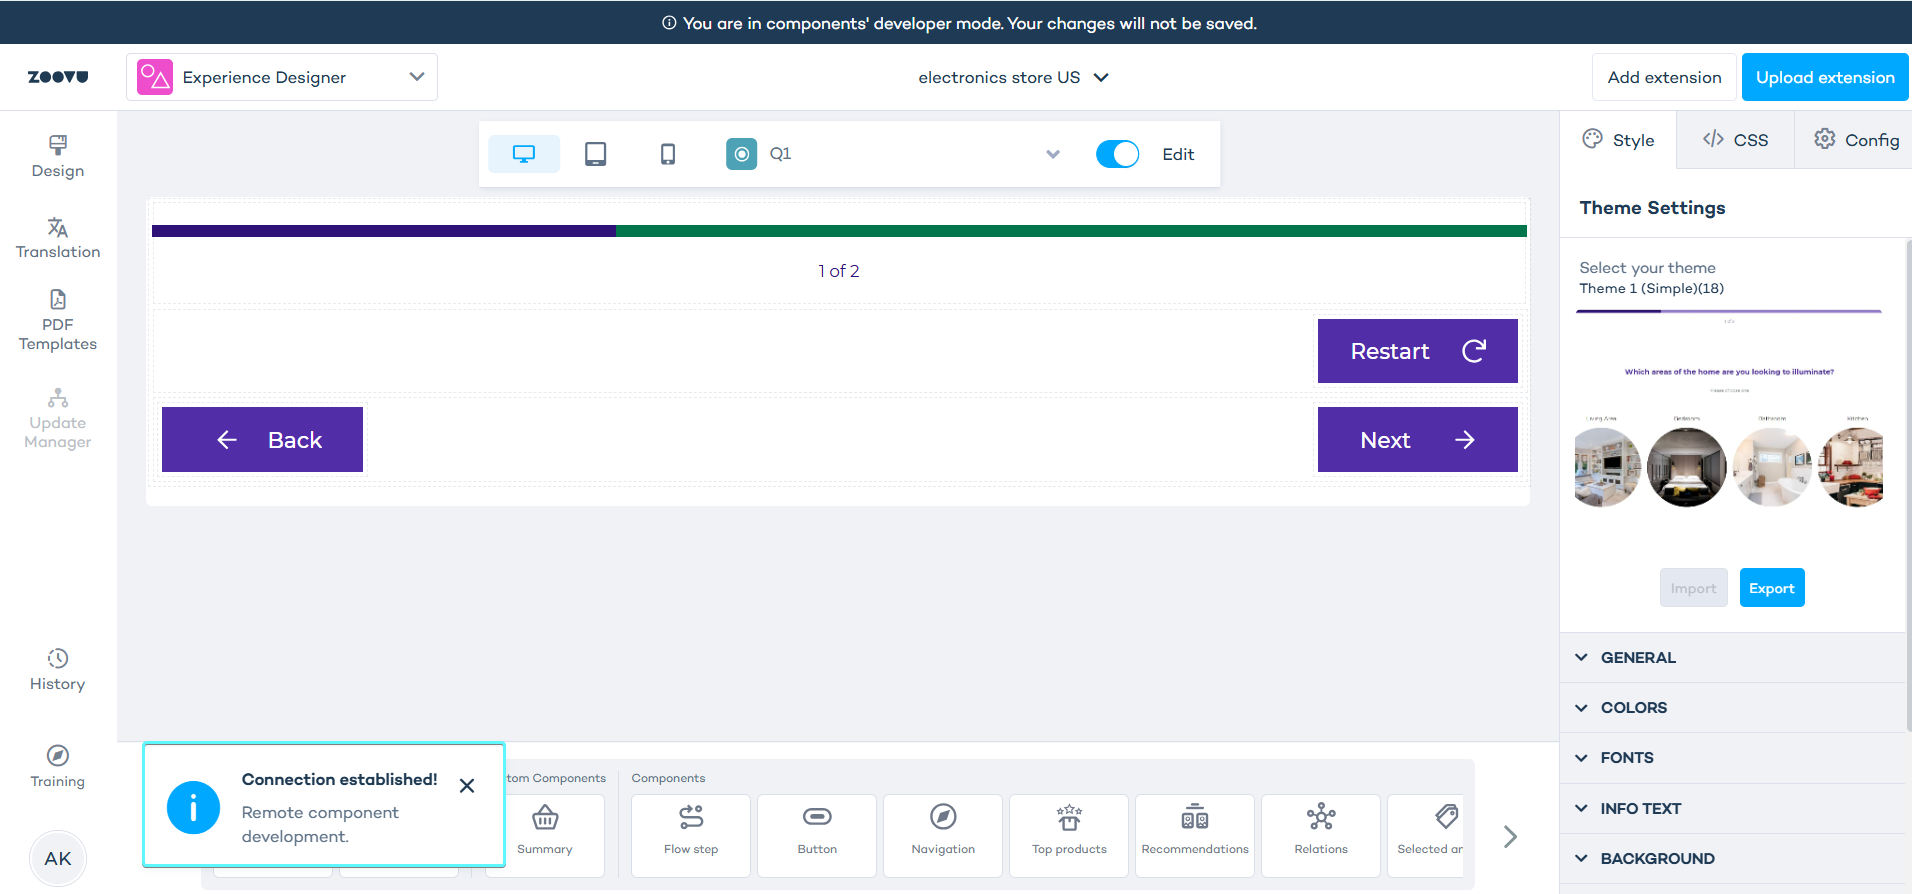
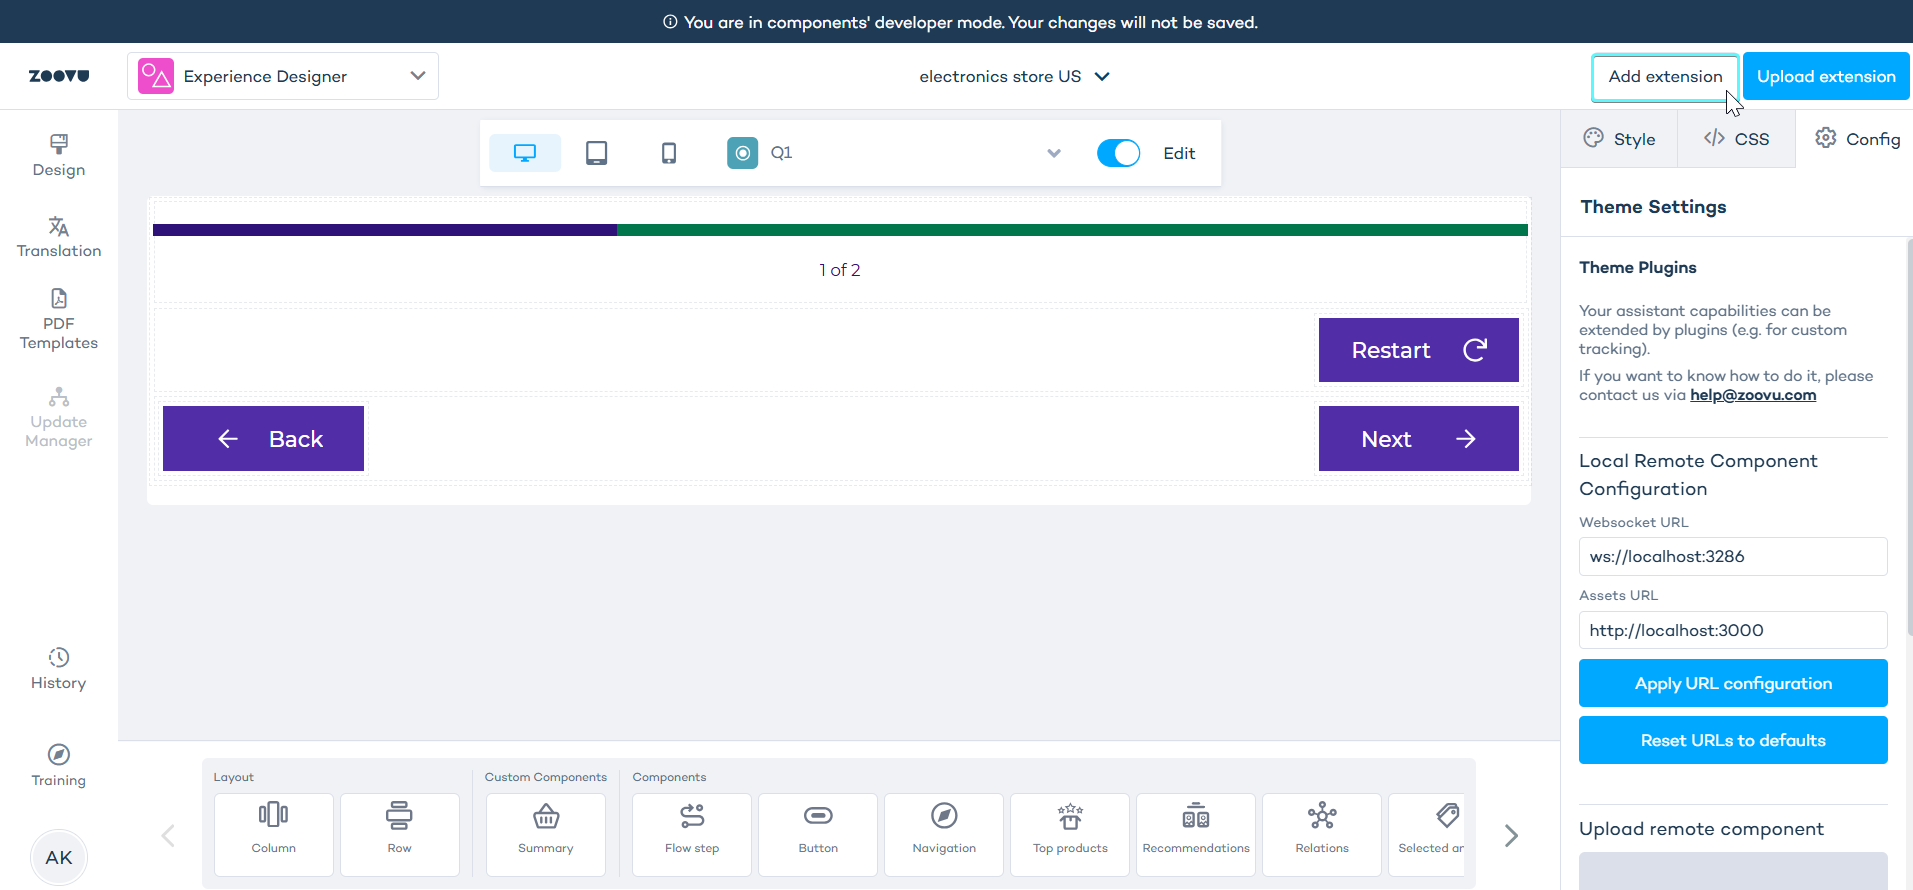
- In Experience Designer, click the "Add extesion" button in top right corner:
- Name your extension and confirm.
- Click "Allow" in your browser if asked for permissions.
After the component is created:
- The temporary server stops.
yarn run devstarts automatically- Experience Designer refreshes on its own.
- Your new extension appears in the component library at the bottom. You can now start development. See the example.
Continue working on an existing component
To resume development on the same component, run:
yarn run dev
This reconnects the component without creating a new one.
Running npm run exd --start again creates a new component and a new server.
Fallback workflow - CLI-based setup
Optional. Use this only if the recommended workflow does not work for you.
1. Generate the component manually
In order to start:
- Make sure you have
node@20installed. You can use Node Version Manager on Windows or Linux - You need to be familiar with frontend development using
Vue3. - Run
npm install -g yarnto install Yarn globally.
Compatibility: ExD 6.x themes use Vue 3. ExD 5.x themes use Vue 2. Learn more.
Extensions are refered to as (remote) components in the code.
- Open your terminal and run the following command:
npx @zoovu/create-remote-component
- When prompted, choose tutorial as the template:
? What template do you want to use? (Use arrow keys)
  button
  flow-step
  recommendations
❯ tutorial
2. Install dependencies
After selecting a template, navigate to your new project folder and install the dependencies:
cd <your-extension-name>
yarn install
3. Start the dev server and watch your changes
To start a local server run yarn dev. This will start a local server and watch your files for changes.
yarn dev
-
In a browser, go to https://orca-experience.zoovu.com.
-
Click the Update button in the left panel. Confirm the update in the modal.
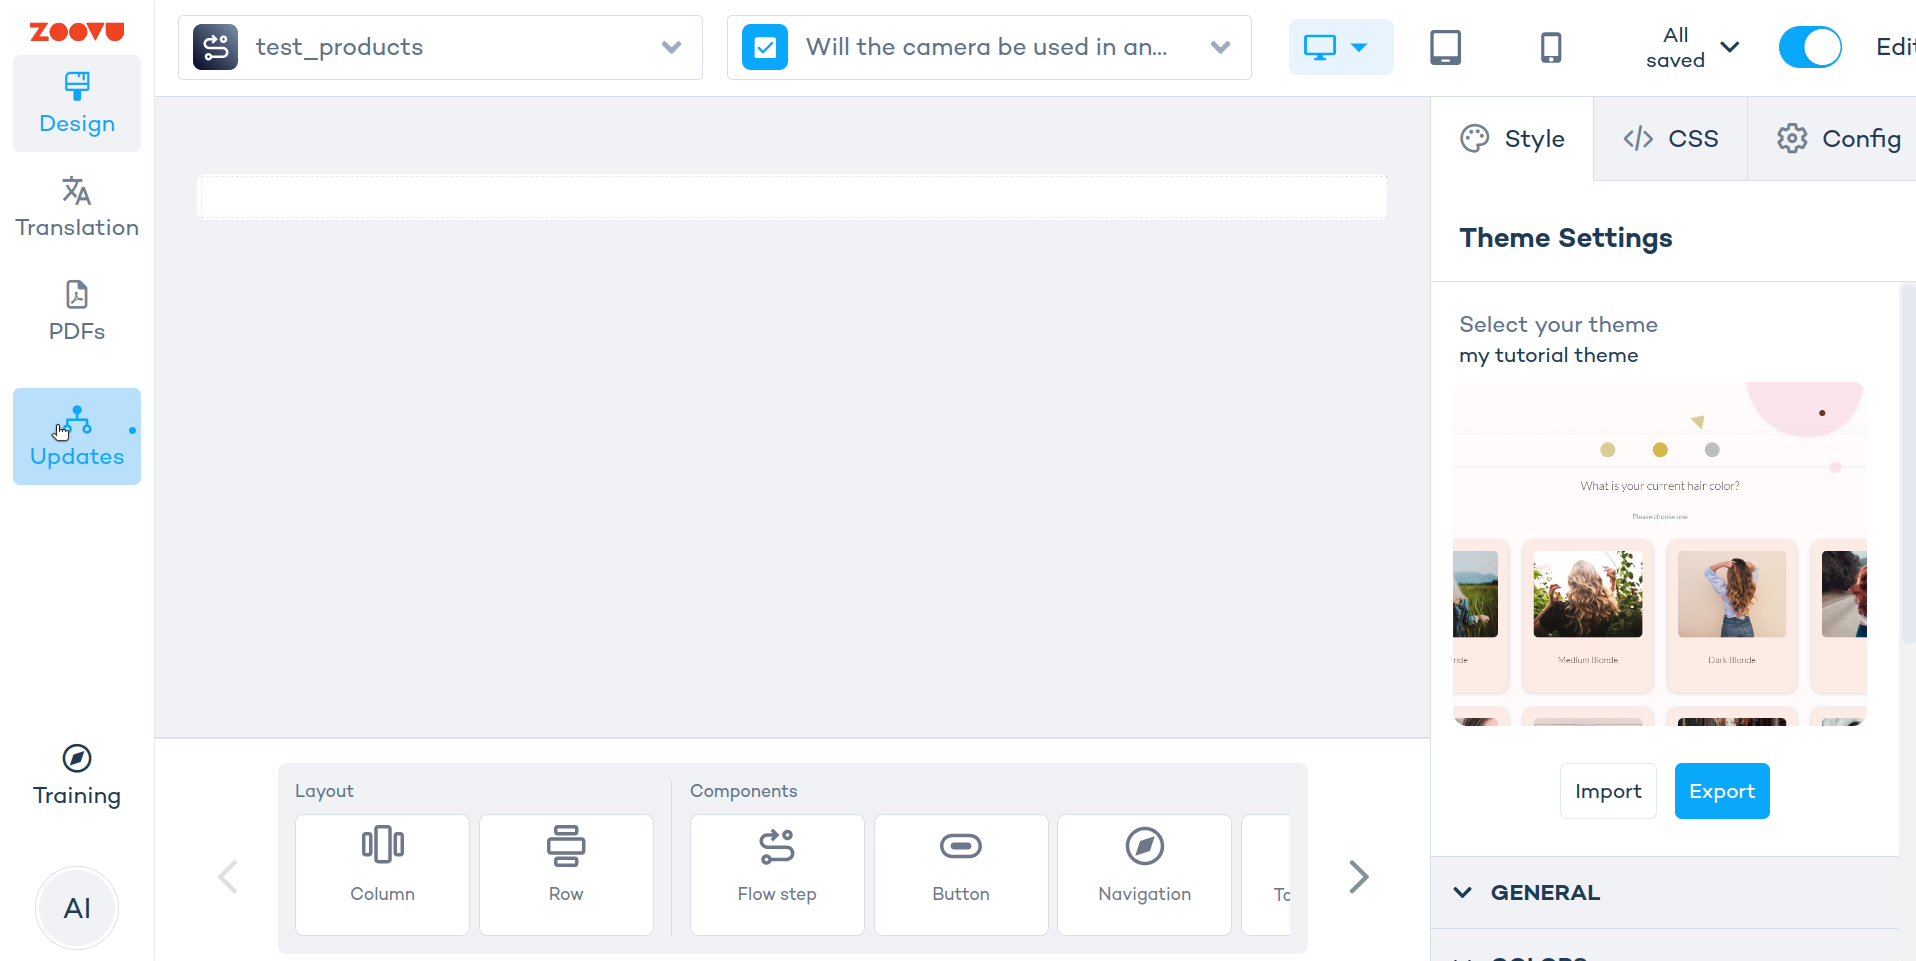
-
In the component library at the bottom, find the Flow Step component.
-
Drag and drop it onto the canvas (or double-click it).
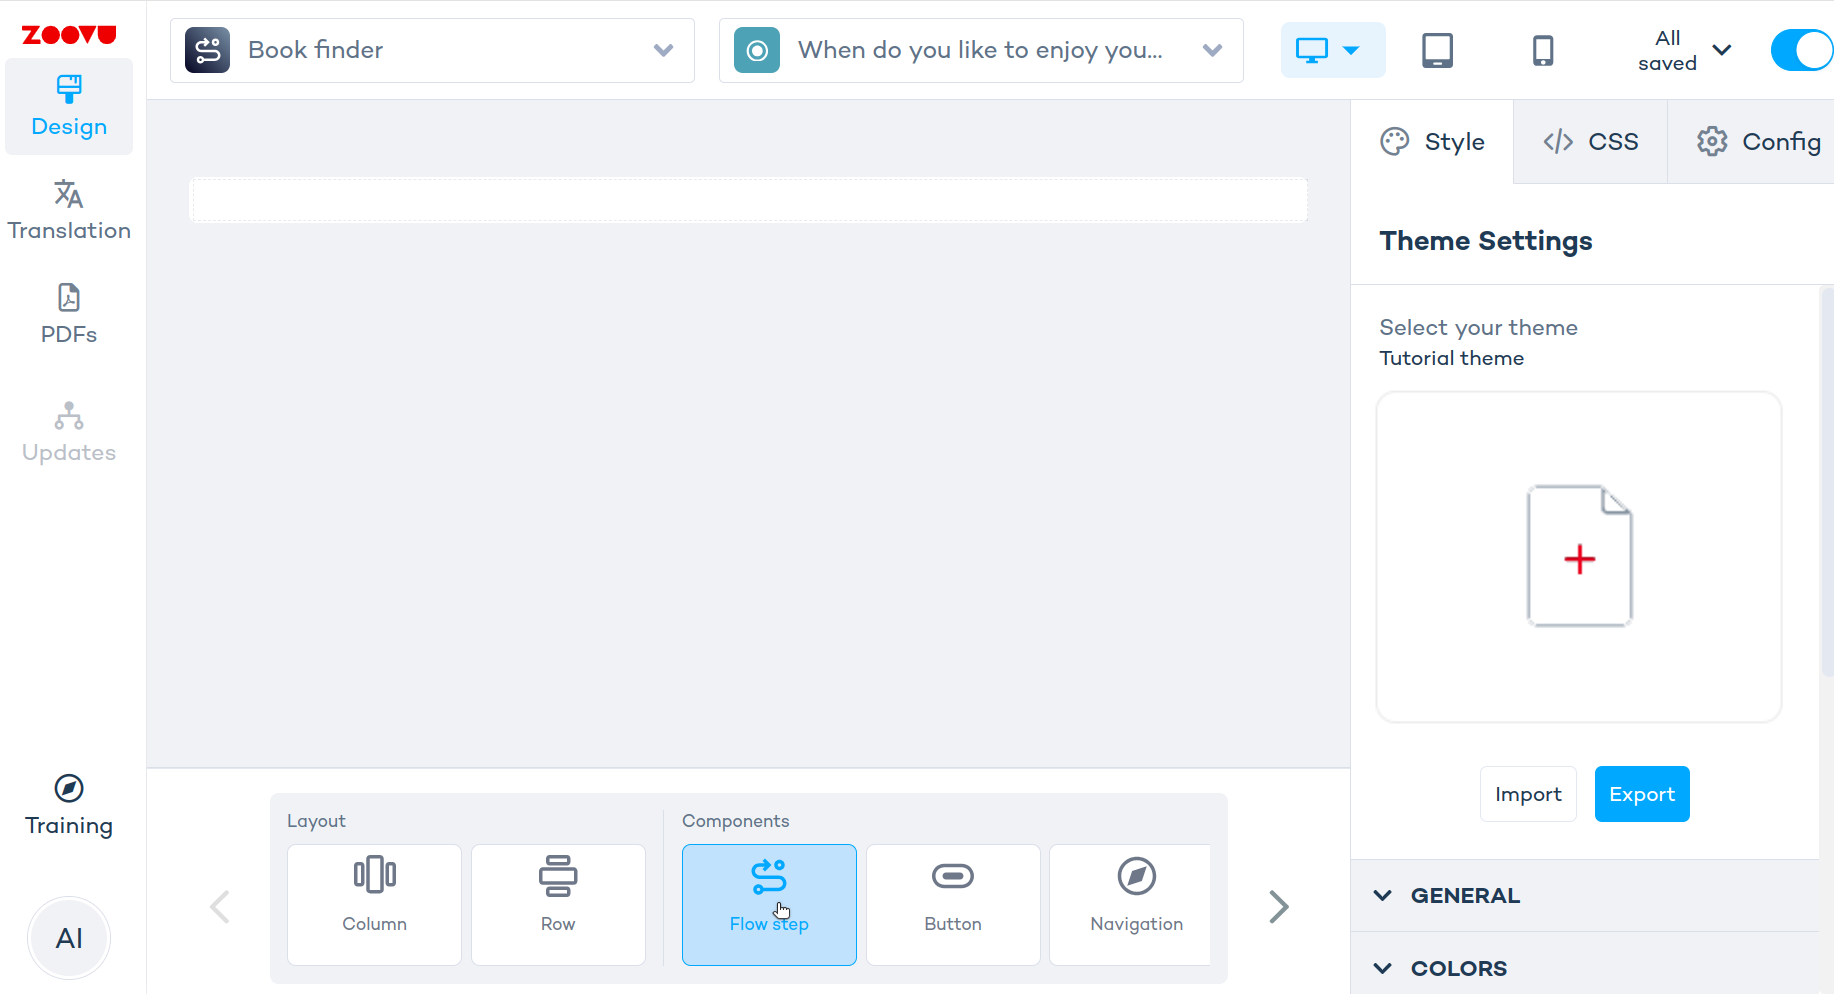
- In the right panel, choose your generated extension variant from the dropdown.
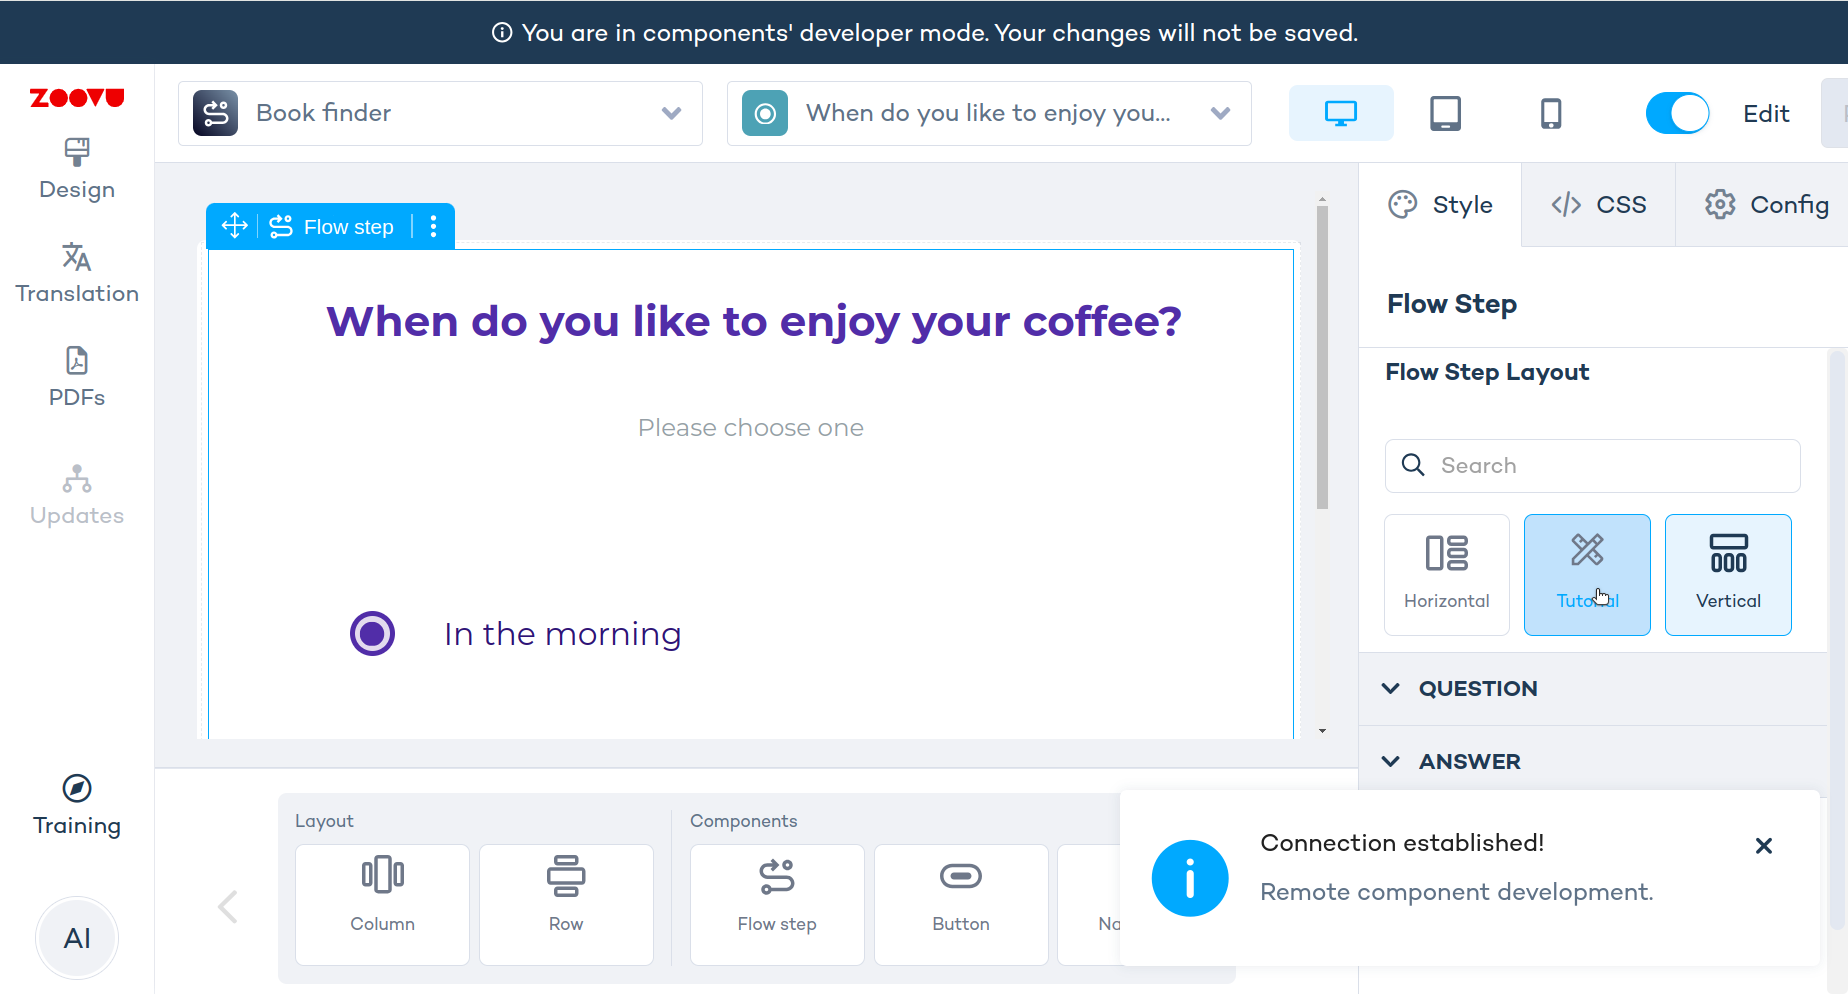
- Edit your Vue files and save. The changes will be immediately reflected on the screen.
After you start yarn run dev script, refresh Experience Designer for developers once to reconnect.