Build an Experience Designer extension
Experience Designer can be extended with custom components. These components run remotely and let you add custom UI and logic to your experiences.
Two workflows are supported:
- Local development with an automatic server (recommended)
- CLI-based workflow
Both workflows produce the same type of component. Choose the one that fits your setup and level of control.
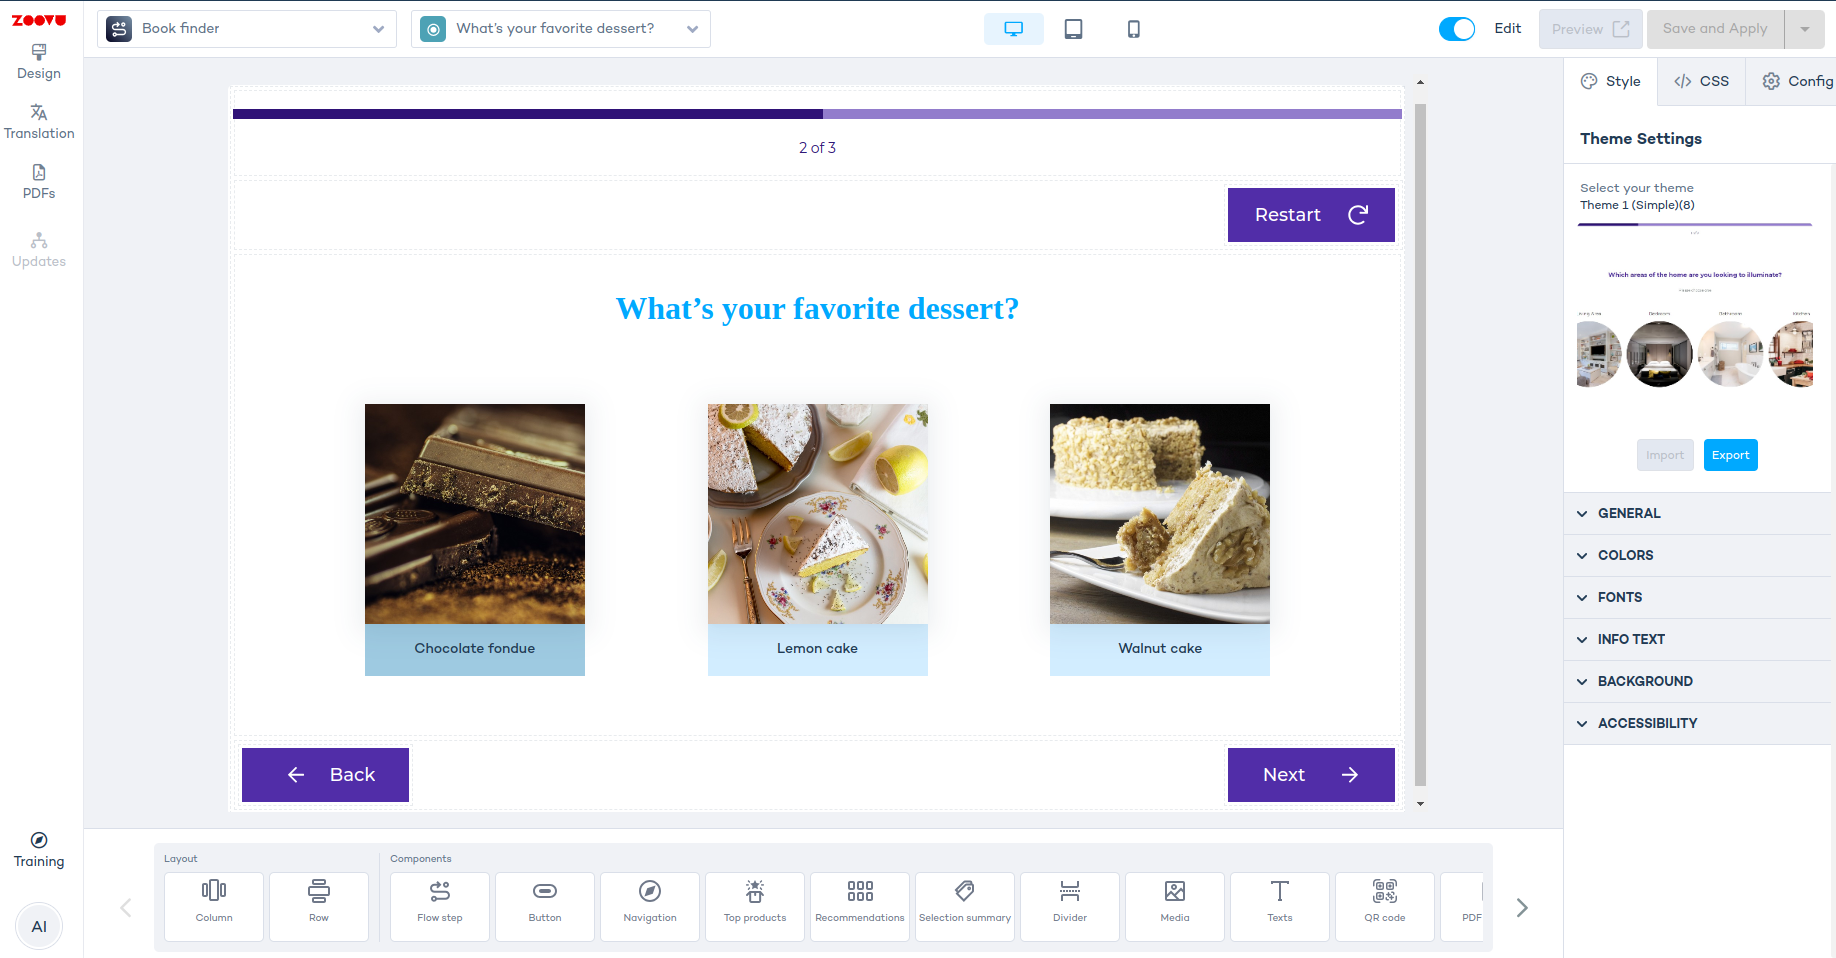
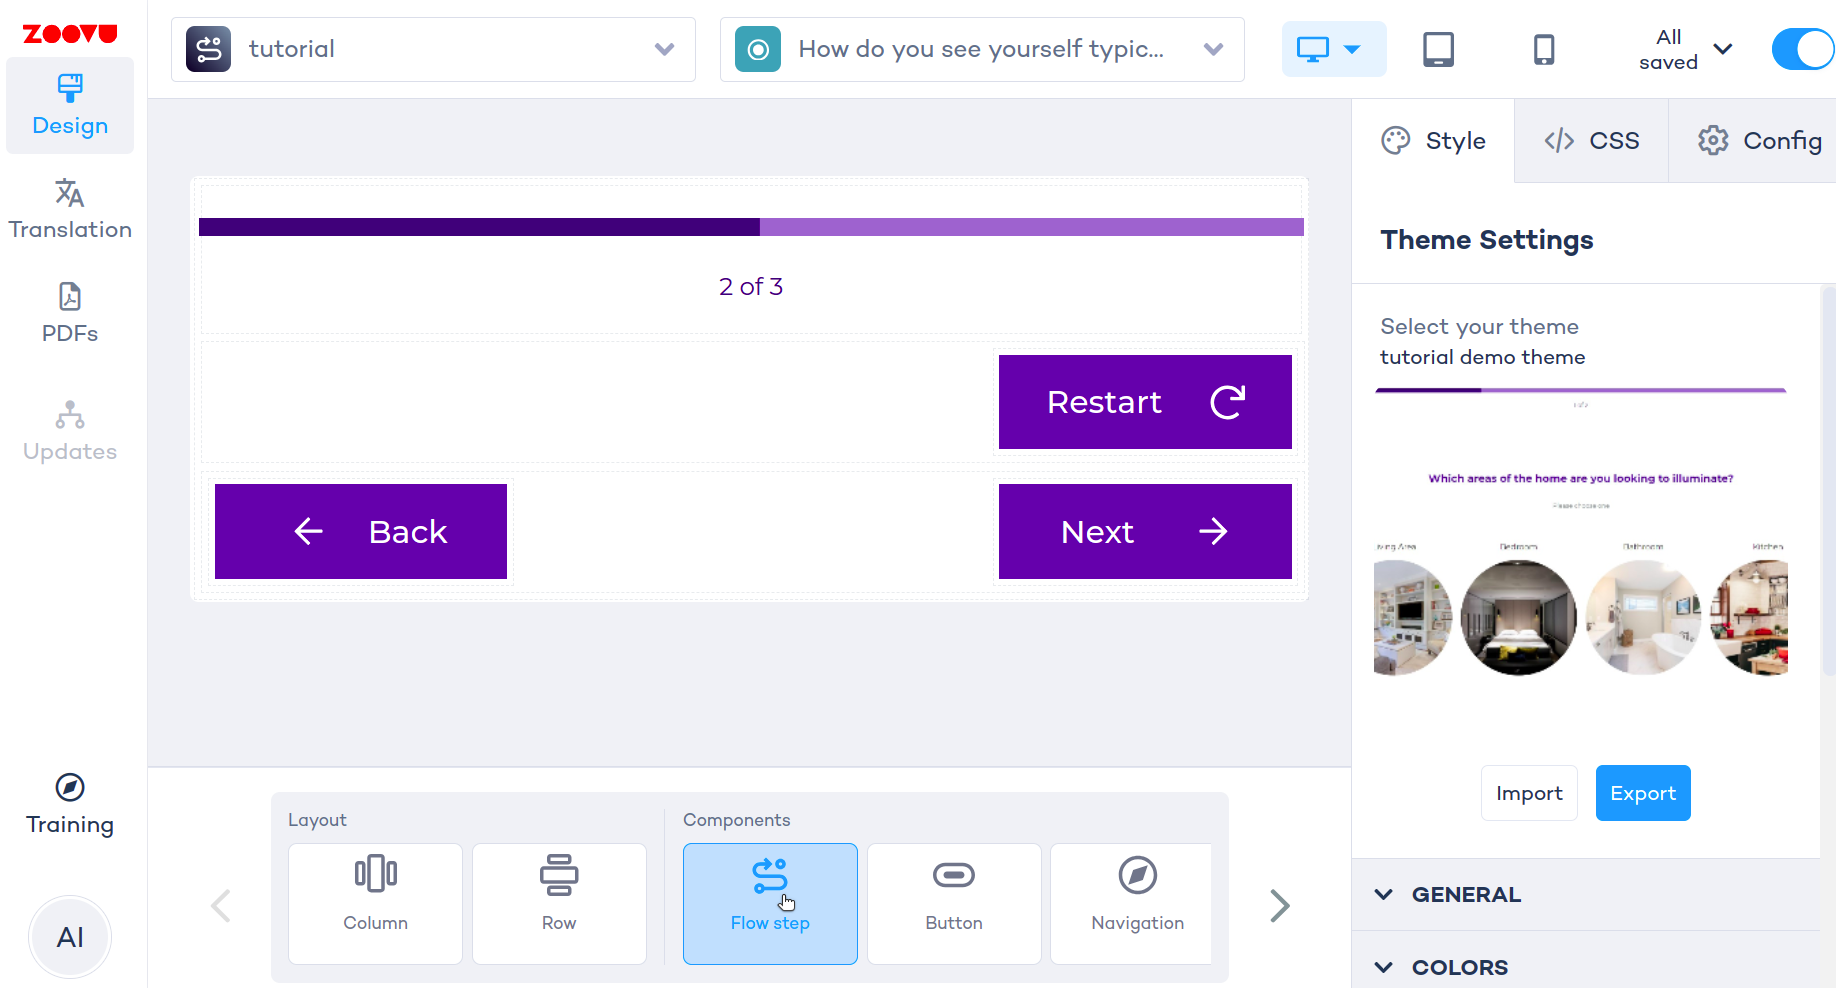
Our final product is going to look like this:
Prerequisites
- Use Mozilla Firefox. (Chrome blocks the local server.)
- Install Node.js version 20.19.1.
- Install Yarn globally.
Check your Node.js version with this command:
node -v
If the Node.js version is not 20.19.1, switch to the supported version by running:
nvm install 20.19.1
nvm use 20.19.1
Recommended: Local development with automatic server
This workflow provides the fastest way to create and test an extension.
In order to start:
- Make sure you have
node@20installed. You can use Node Version Manager on Windows or Linux - You need to be familiar with frontend development using
Vue2. - Run
npm install -g yarnto install Yarn globally.
Generate a 'tutorial' component using CLI
# Generate a remote component from the 'tutorial' template
npx @zoovu/create-remote-component

# Choose the 'tutorial' template
? What template do you want to use? (Use arrow keys)
  button
  flow-step
  recommendations
❯ tutorial
Run in dev mode
# Go to the directory and install npm dependencies
cd <the-name-you-specified>
yarn install

# Run the project
yarn dev
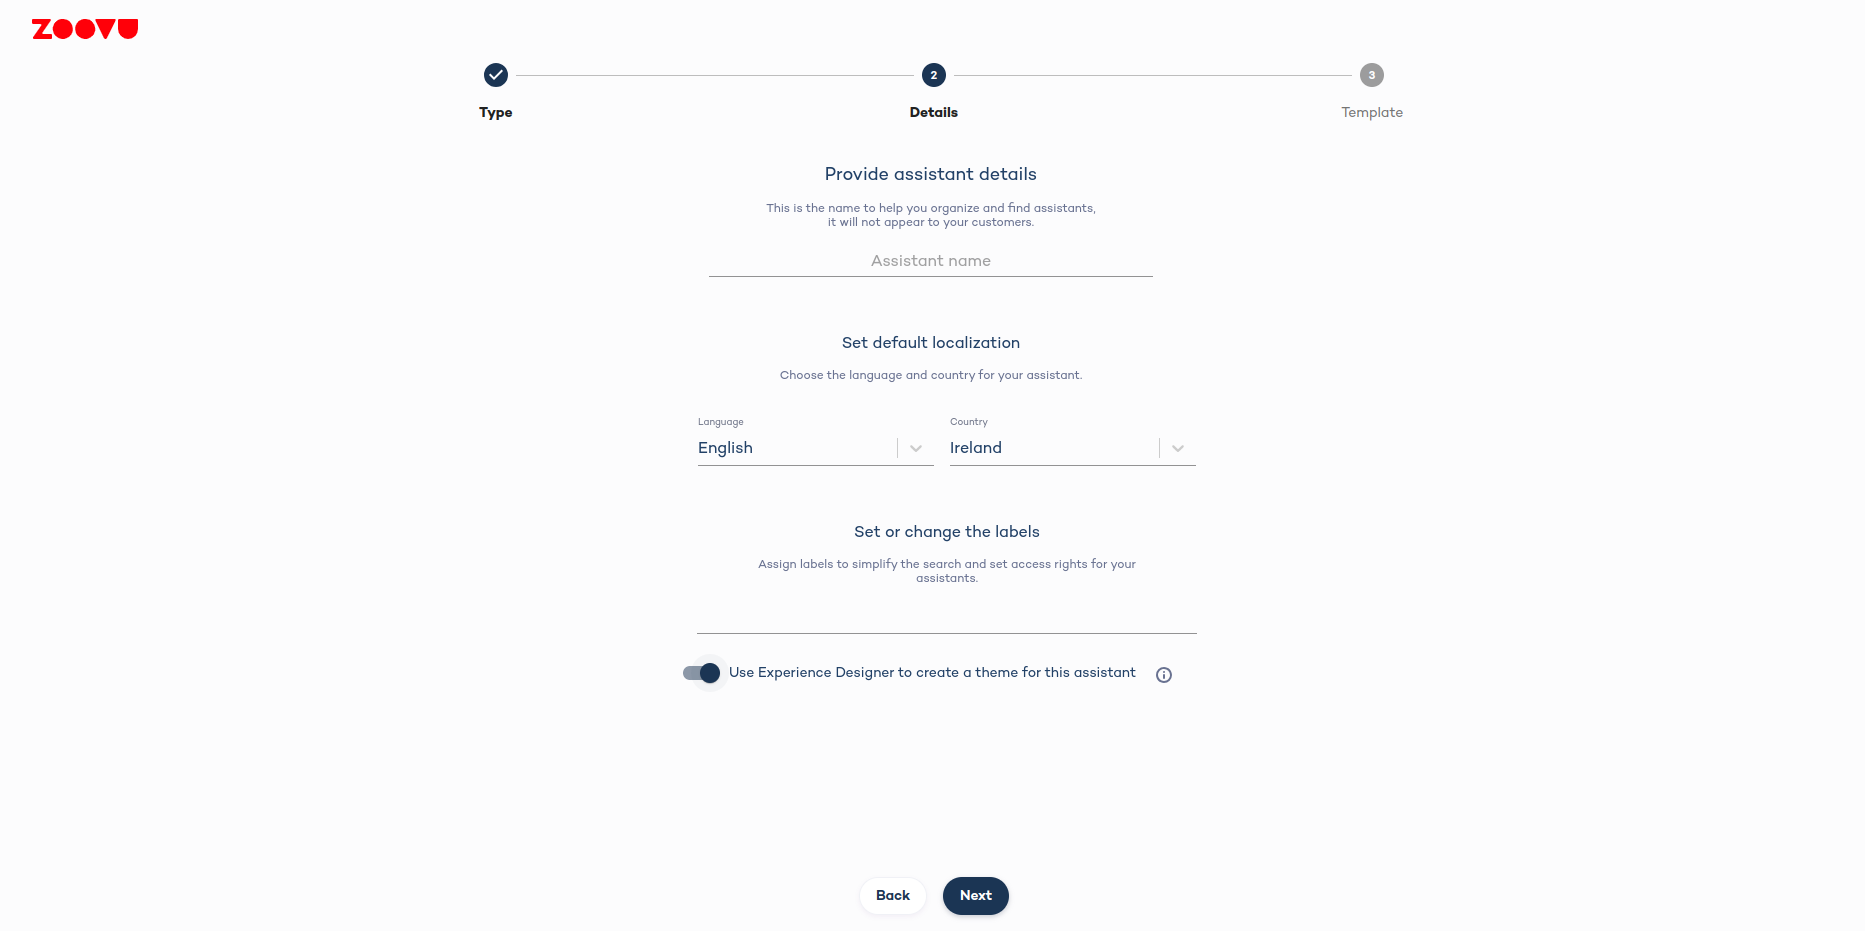
Create an assistant
- Go to Conversation Studio and create a new Digital Assistant.
- Enable Experience Designer by switching on the toggle.
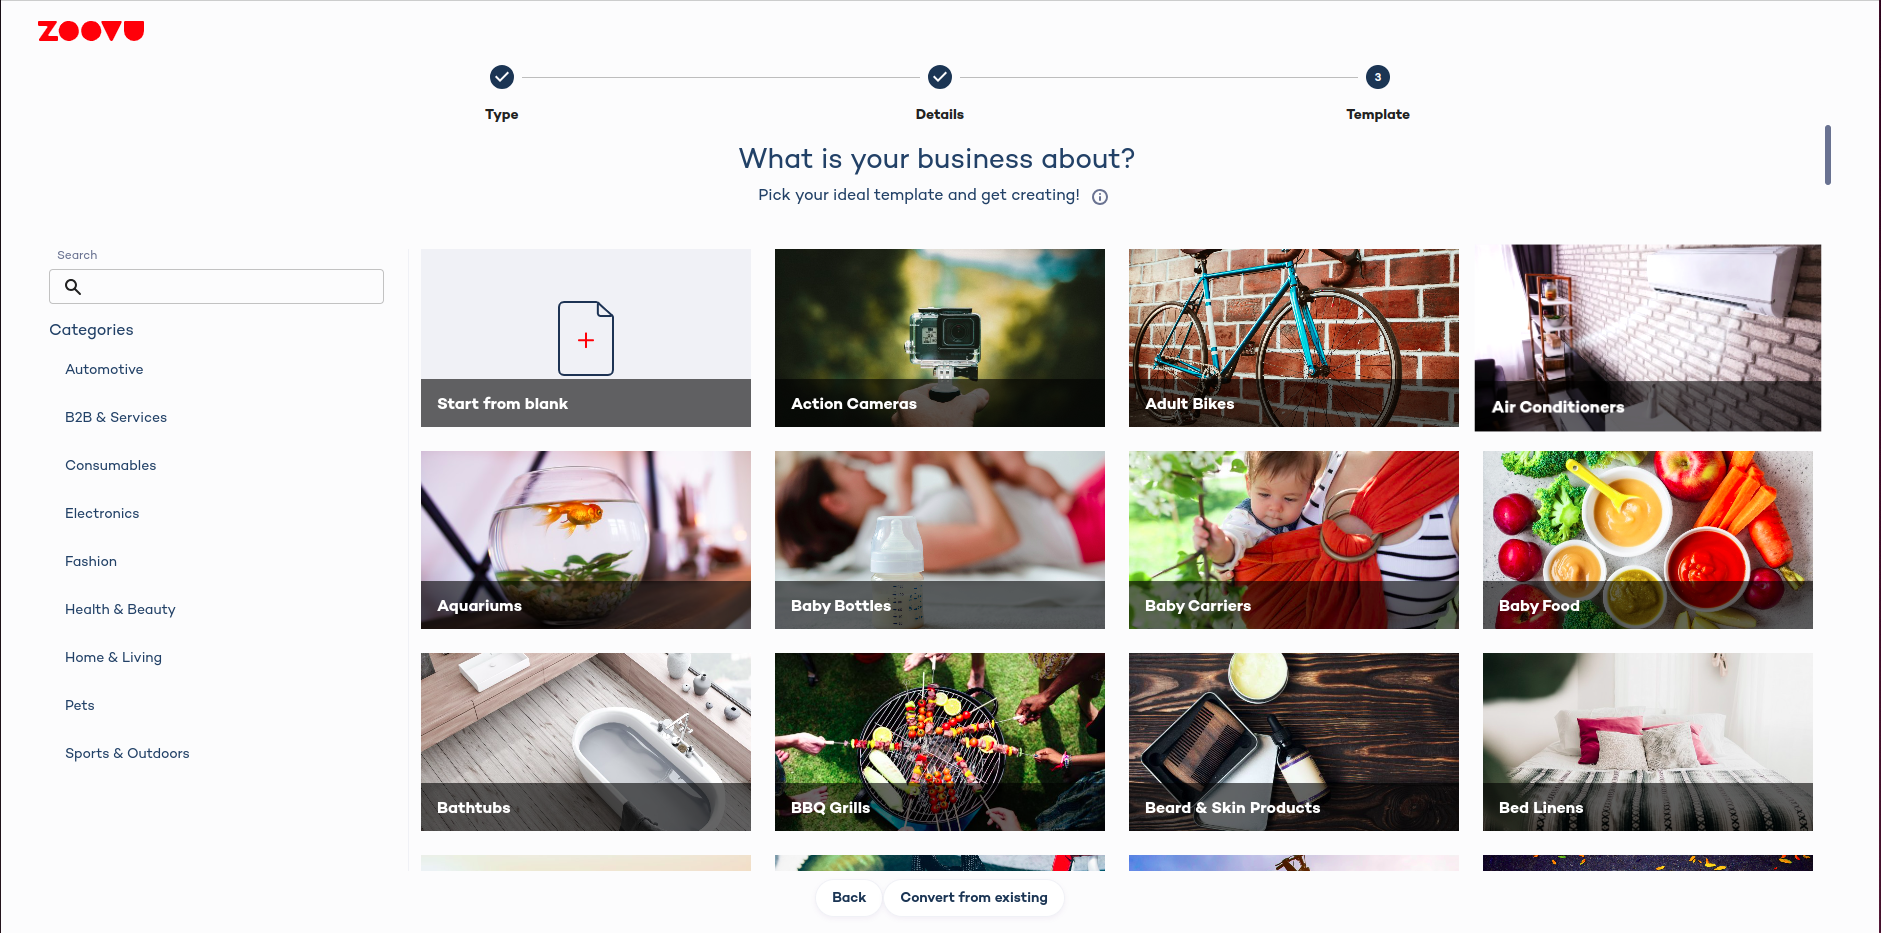
- Select the "Adult Bikes" template.
Set up the theme in Experience Designer
- Go to Experience Designer at
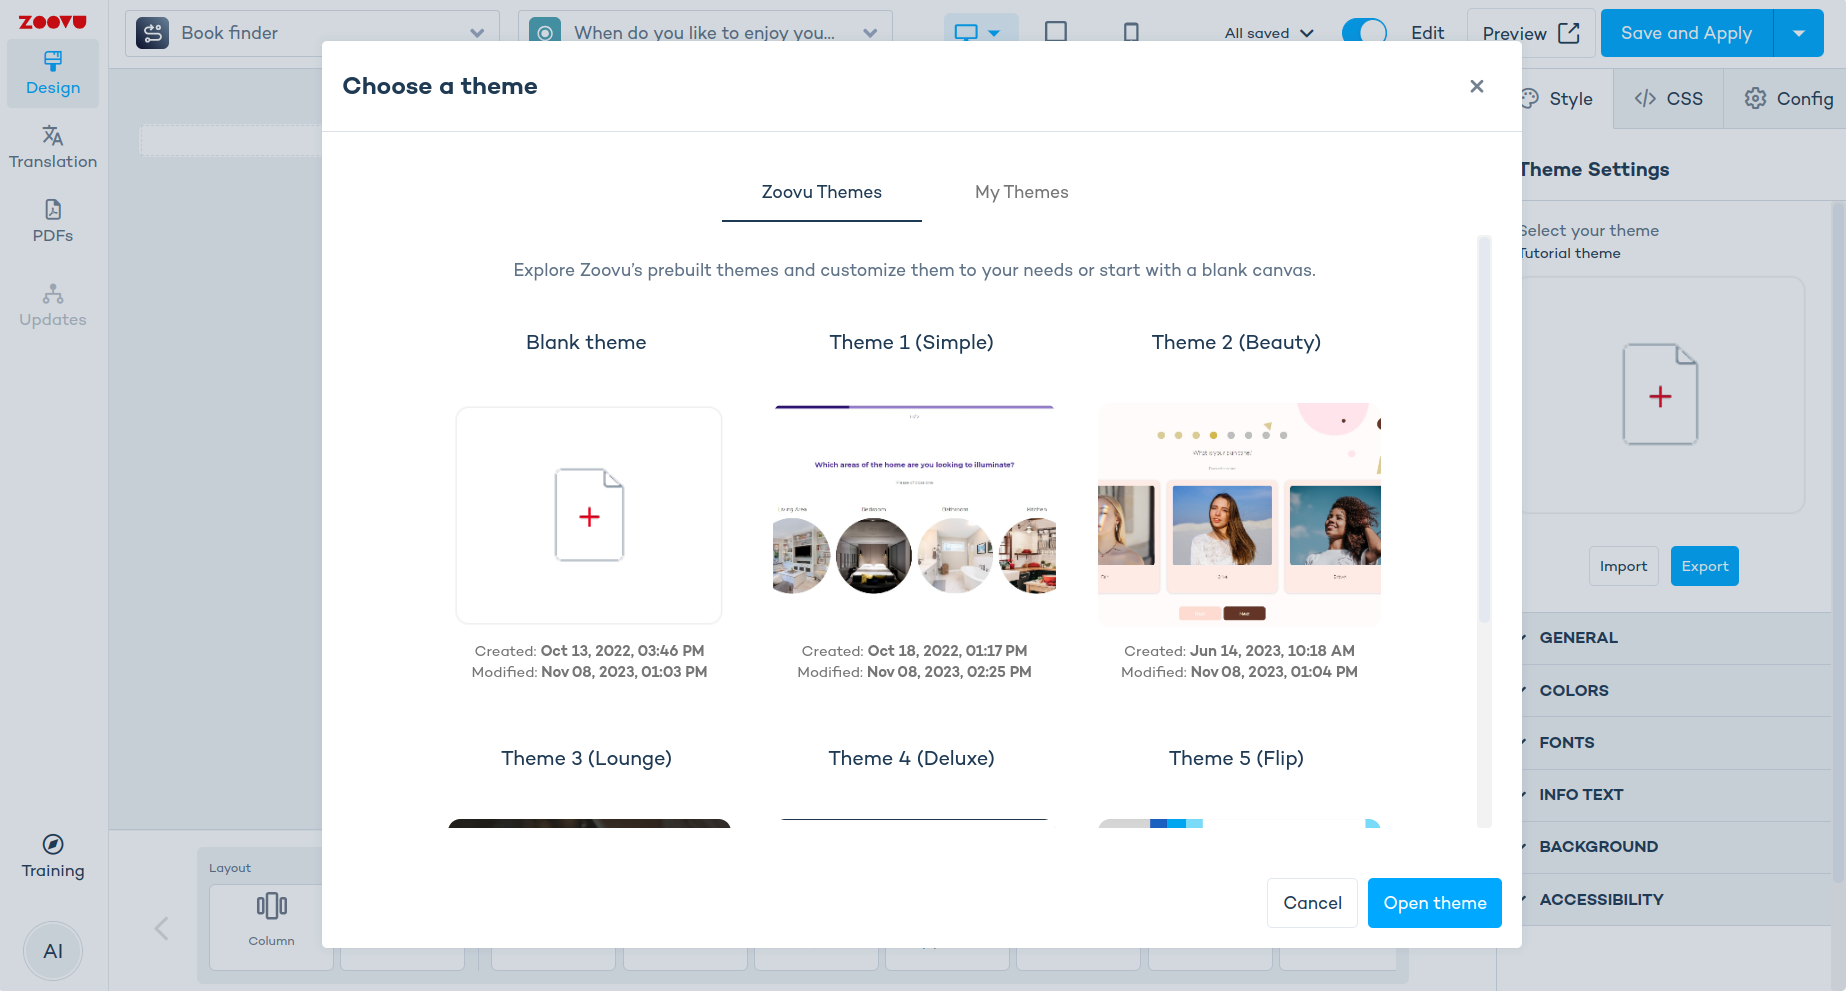
https://orca-experience.zoovu.com/. - Select the assistant in the selector, then choose the
Theme 1 (Simple)once prompted. ClickOpen theme. - Your experience should look something like this:
Delete the deprecated flow step component from Canvas
Make sure you have the latest version of the flow step component on your Canvas. (The old one is marked as "deprecated".) Run a component update if necessary.
- Drag & drop the new flow step onto the canvas:
Select your locally served component
Open Experience Designer for developers
Go to the developer page by accessing this link: https://orca-experience.zoovu.com/developer
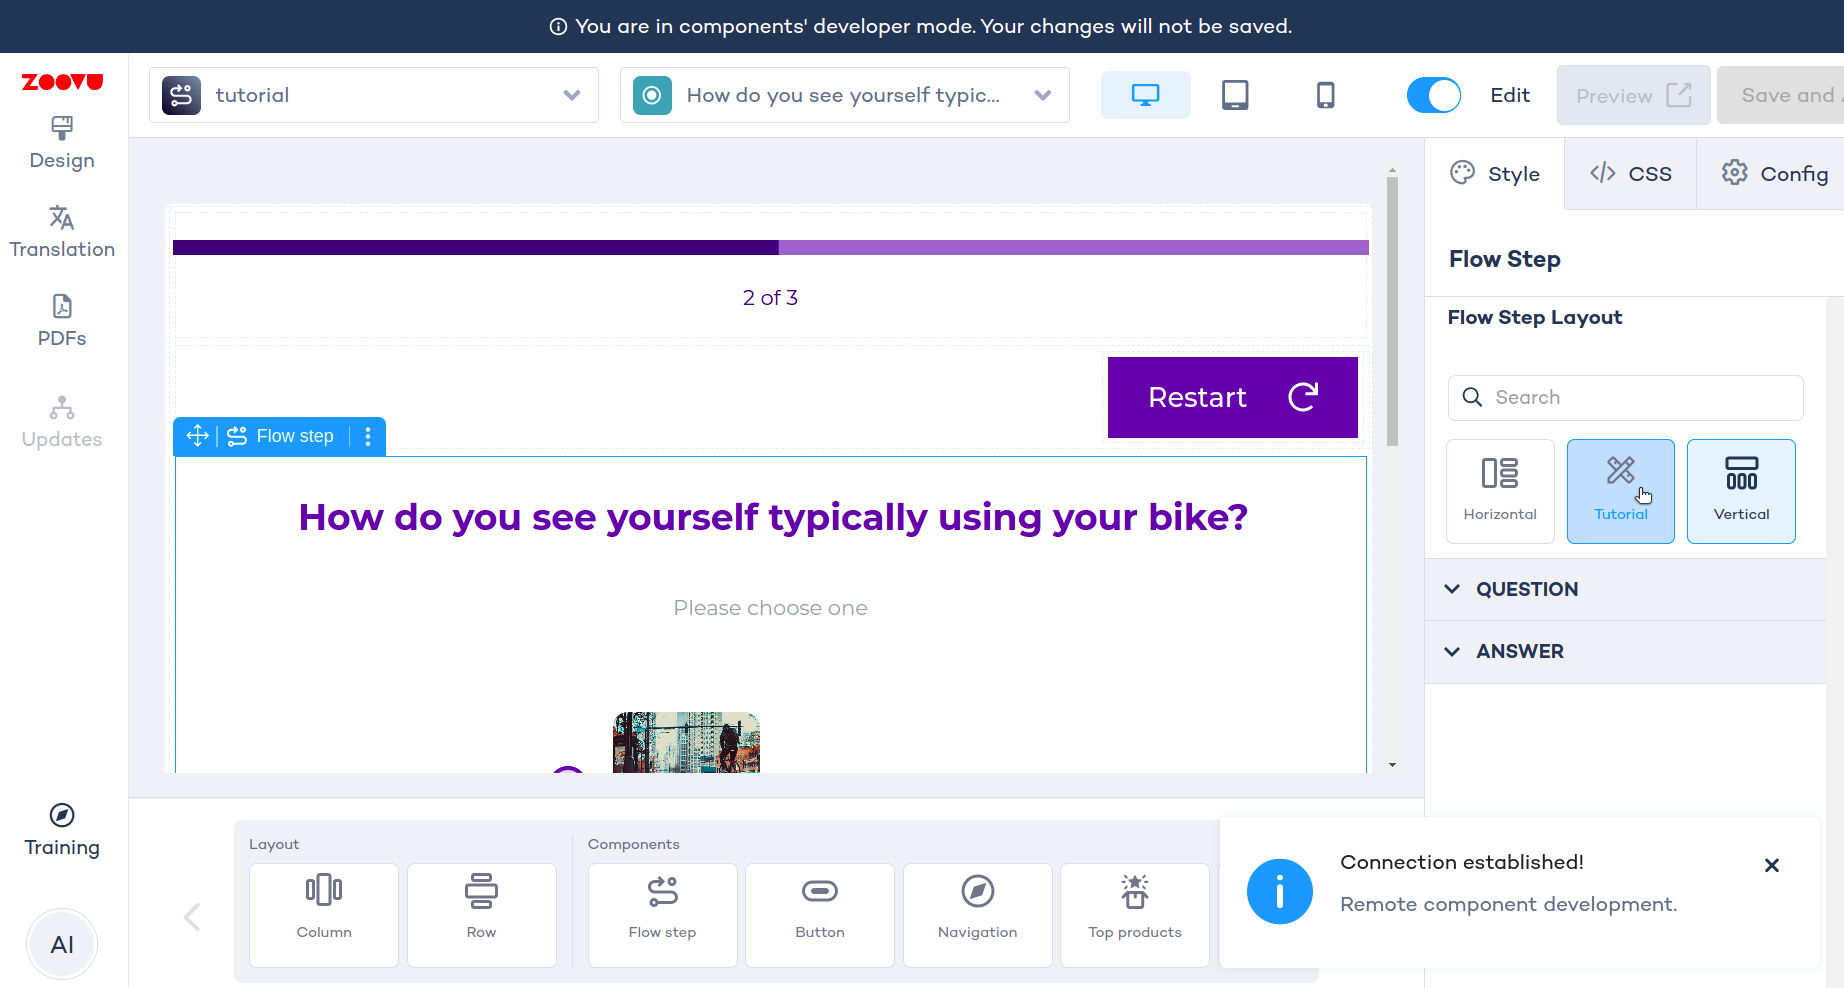
Select the Tutorial Component
Hover over the flow step and select it. The flow step's settings will then appear on the right hand side. Select the tutorial component.
Make sure that the yarn dev script is up and running. After starting the script, make sure to also refresh Experience Designer for developers once.
Render the question text
In order to render the question text we need to use the zoovuFacade.
You can find out more in our API documentation:
- Go to the file
src/flow-step.component.vue - Add
questionandquestionTextfunctions to your main component. DisplayquestionTextin the template.
<template>
  <div>
    <h2>{{ questionText }}</h2>
    <ul>
      <li>First question will be here</li>
      <li>Second answer will be here</li>
      <li>...</li>
    </ul>
  </div>
</template>

<script lang="ts">
import { Component, Mixins, ComponentConfig } from "@zoovu/runner-browser-api";
import { Question, ZoovuFacadeMixin } from "@zoovu/exd-api";
import { FlowStepConfiguration } from "./flow-step.configuration";


@Component({})
export default class FlowStepComponent extends Mixins(ZoovuFacadeMixin) {
  @ComponentConfig(FlowStepConfiguration)
  componentConfiguration: FlowStepConfiguration;

  get question(): Question {
    return this.zoovuFacade.firstQuestionFromCurrentPage;
  }

  get questionText(): string {
    return this.question.text;
  }
}
</script>

<style lang="css" scoped>
@import url('https://fonts.googleapis.com/css?family=Poppins');
</style>
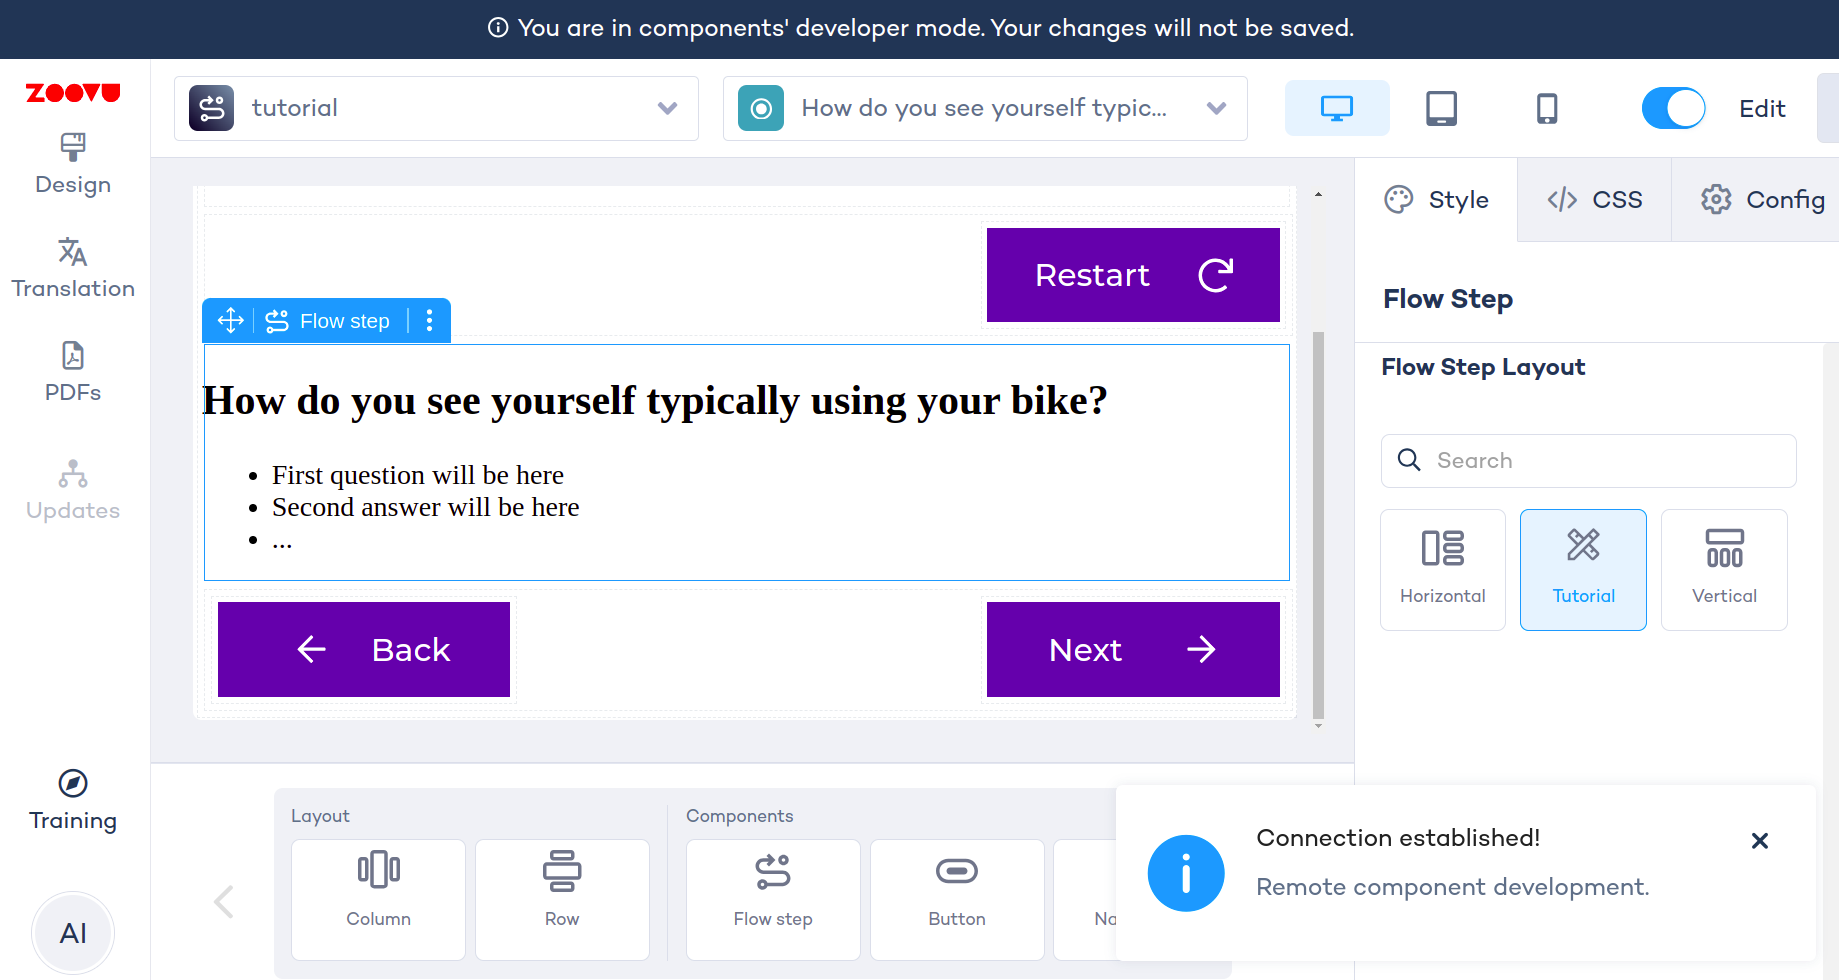
Now the question text is visible on the canvas. No need to refresh the page.
You can modify your component and the changes will be reflected on the Canvas instantly.
Next: Right panel configuration
In the next steps, we will add a right panel configuration so that our users can customize their components to reflect their brand colors, fonts etc.