Schedule pipeline runs
Scheduling a pipeline run allows you to choose when your data pipeline executes.
To access the scheduling options, go to Data Platform > Pipelines and edit the settings of a selected pipeline.
Then, select "Schedule":
Step 1: Select the scheduling method
Define the schedule by choosing one of the available options:
Interval - Set a specific time frame, such as every 3 hours. This is the simplest way to create a schedule.
CRON Expression - Use a detailed scheduling string to specify exactly when the pipeline should run. For example, 0 0 * ? * * runs the pipeline every day at midnight.
Step 2: Set a start date and time
Choose when the pipeline should start running. This is the first time the pipeline will execute, based on your chosen schedule.
Step 3: Save your settings
Click Save to apply the schedule. The pipeline will now run automatically according to the schedule you defined.
CRON expressions require some familiarity with the format. Here’s a quick breakdown of the syntax: Seconds - the first number (e.g. 0) Minutes - the second number (e.g. 0) Hours - the third number (e.g. 0 for midnight) Day of month - use ? if you don’t specify Month - e.g. * for every month Day of week - e.g. * for every day
If you're not comfortable with CRON, start with the simpler Interval option.
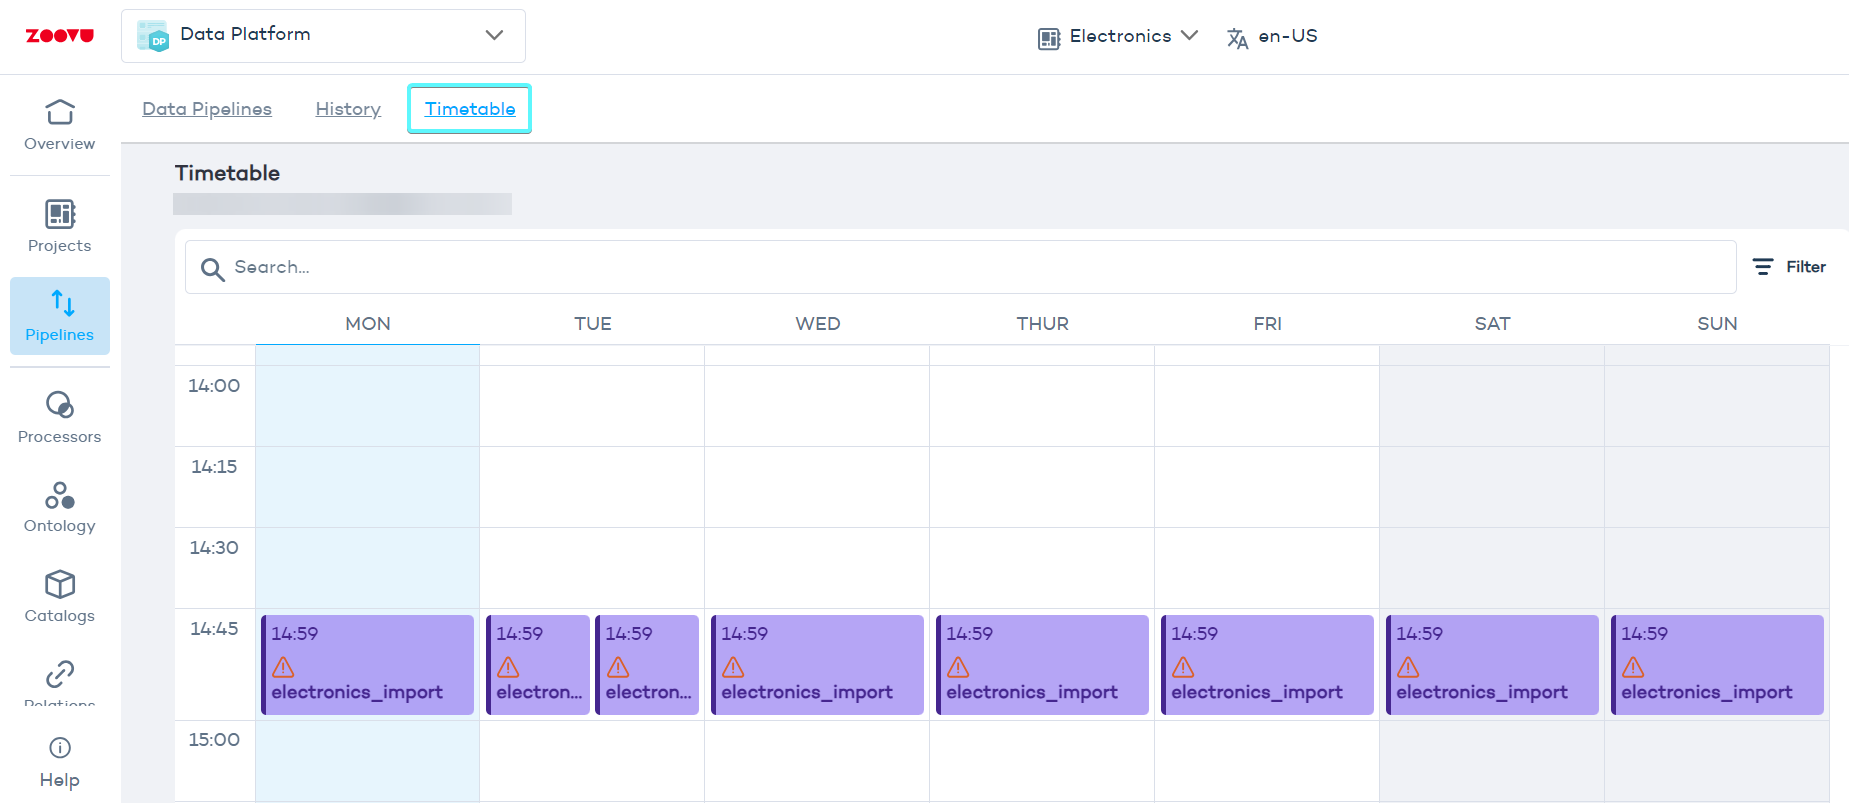
Step 4: Manage your schedule in the timetable
Go to Pipelines > Timetable to see your scheduled pipeline runs.
Click on an item in the timetable to see its details and to open the pipeline it refers to.