Create and configure a Zoe Advisor
A Zoe Advisor connects your product data to Zoe so it can generate product descriptions and respond in the right context. After creating a Zoe Advisor, you can configure its catalog, instructions, tone of voice, support topics, fallback behavior, and company information.
This guide refers to the old UI. If you're using the new Zoe editor, go to this guide.
Create Zoe
- Go to Advisor Studio > Zoe.
- Click the "+ Create advisor" button to create a new Zoe project.
- Assign a unique name to your Zoe and connect it to a Data Project.
- For integration within a Digital Assistant, make sure to select the correct Data Project and locale.
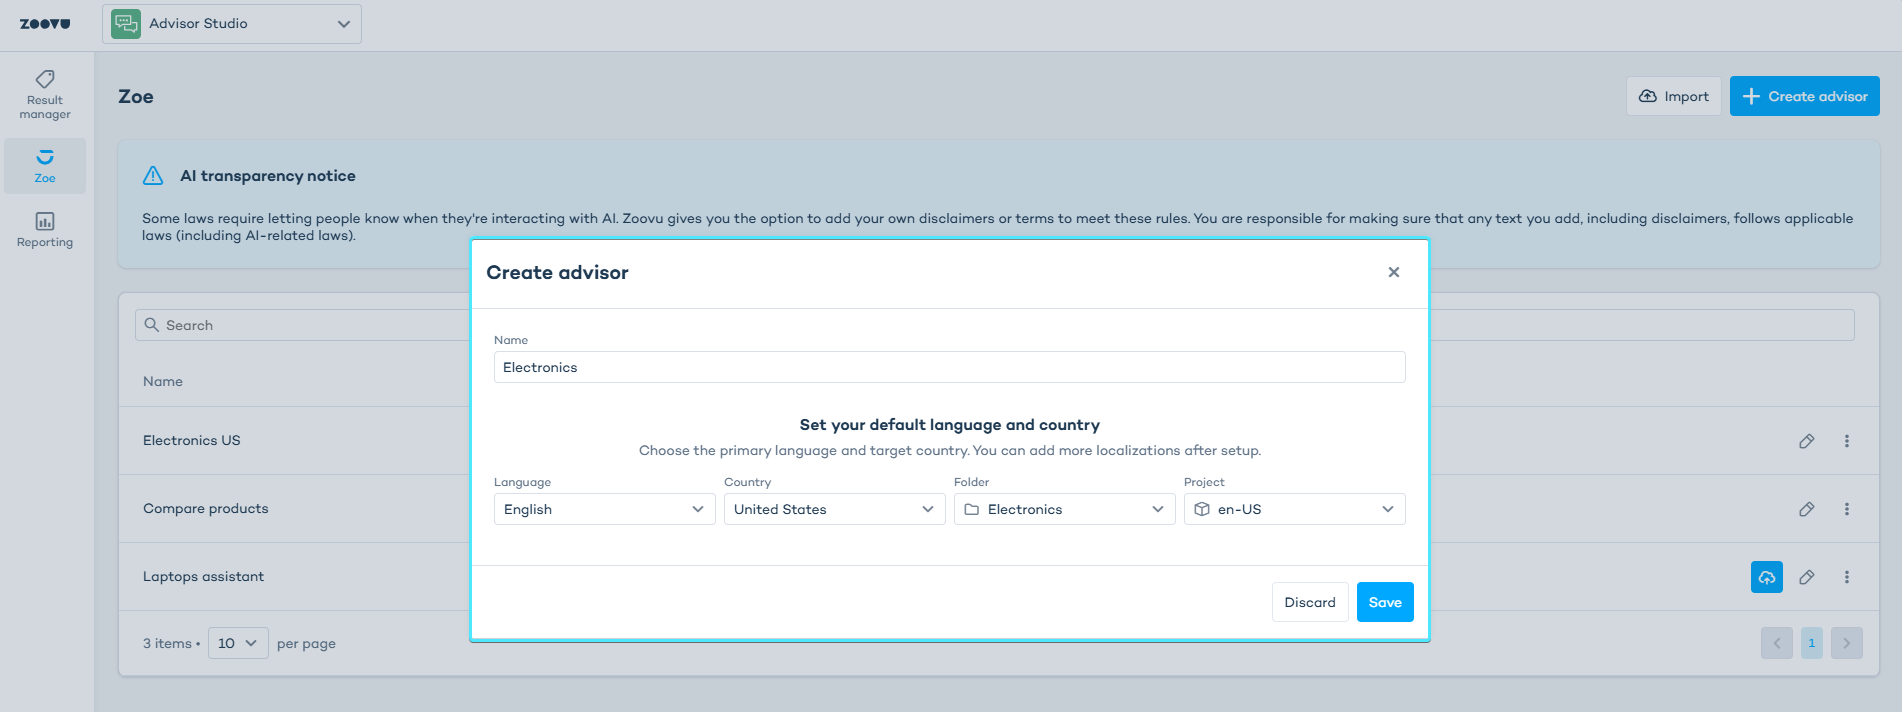
Zoe Advisor projects are locale-specific. This means that you can only connect each Zoe Advisor with a unique locale.
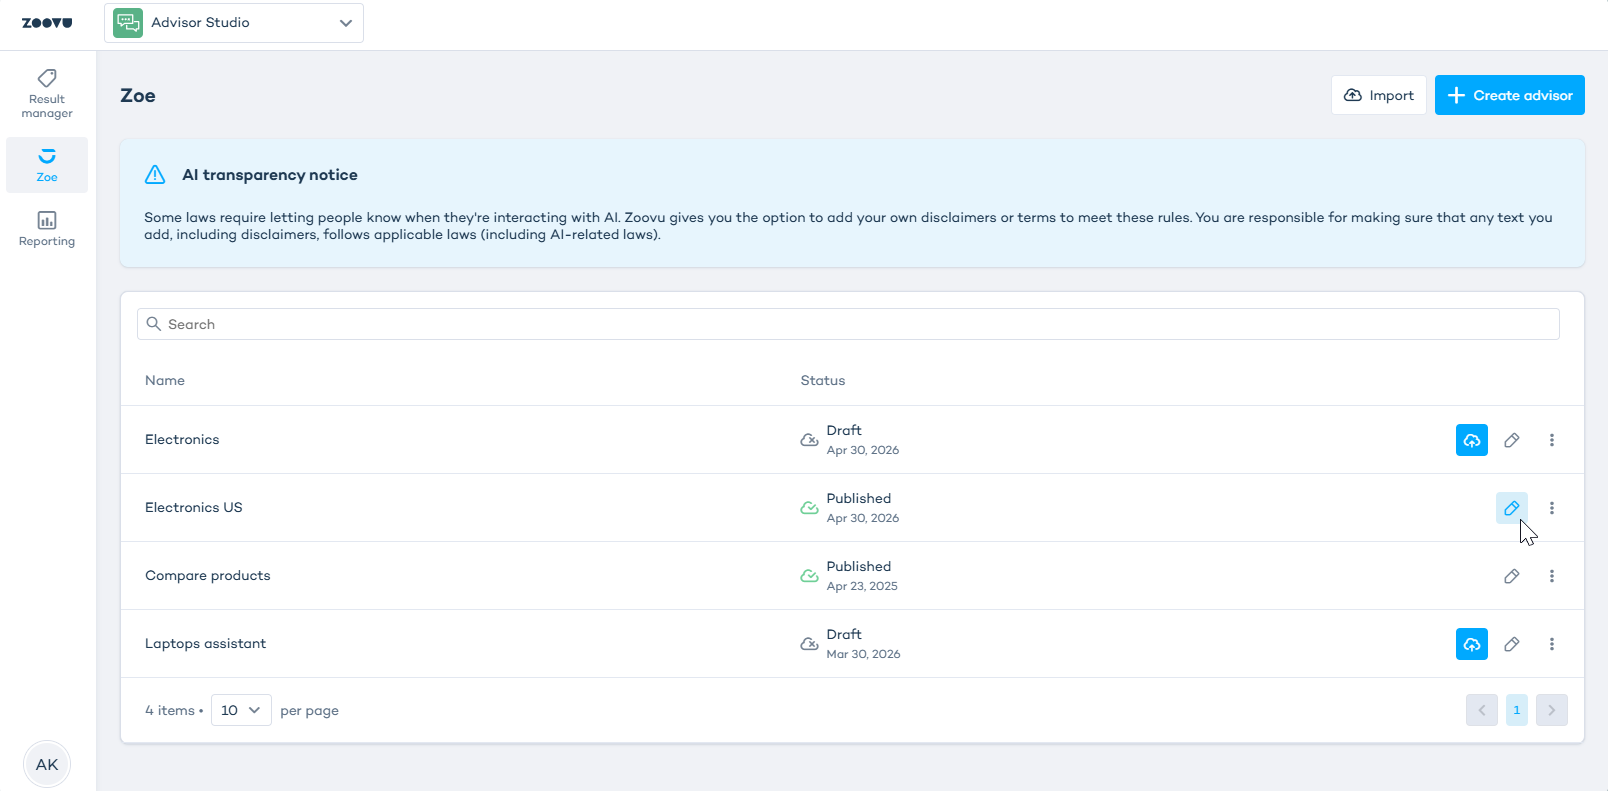
To edit or configure Zoe, go to Advisor Studio > Zoe Advisors and click the pencil icon next to your Zoe Advisor:
In the setup panel, you are able to define the configuration settings and preview the results:
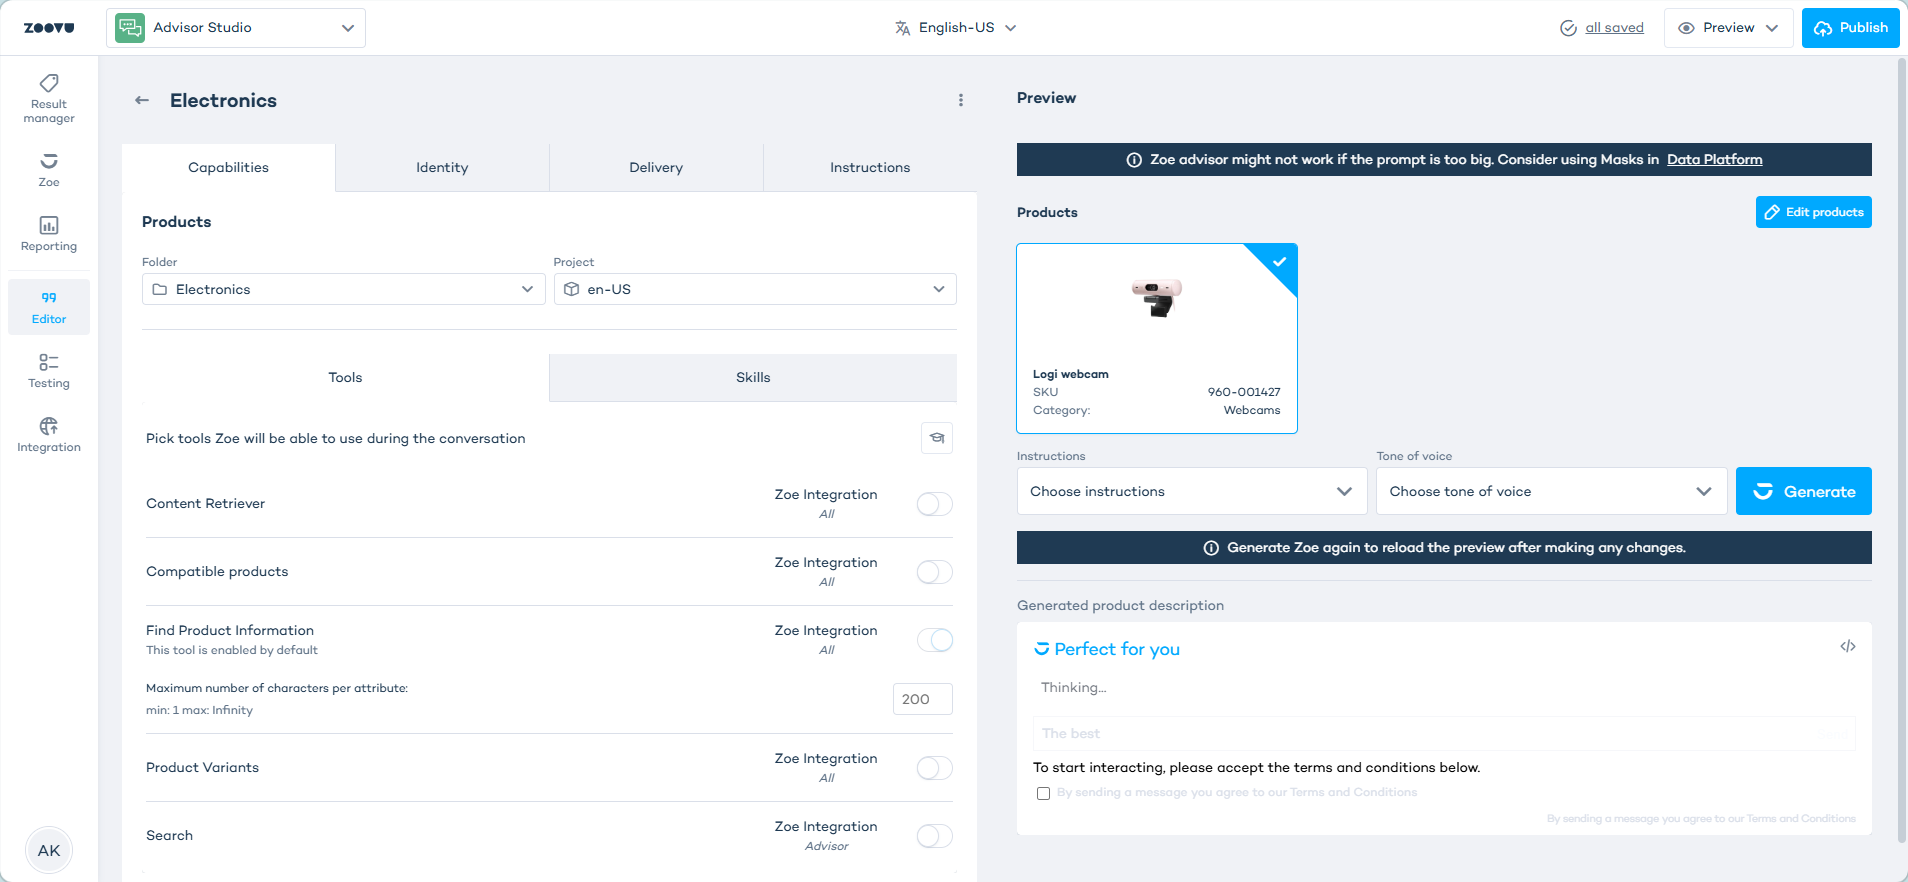
Configure Products
The "Products" tab displays the Data Project that is connected to your Zoe. By clicking the "+" icon next to the tile or the pencil icon, you can:
- select a different catalog from the same Data Project, or
- change the locale.
To remove the product catalog from your Zoe project, click the three dots icon and select "Delete".
To connect an existing Zoe with a different catalog or different locale, create a new Zoe project.
Configure Instructions
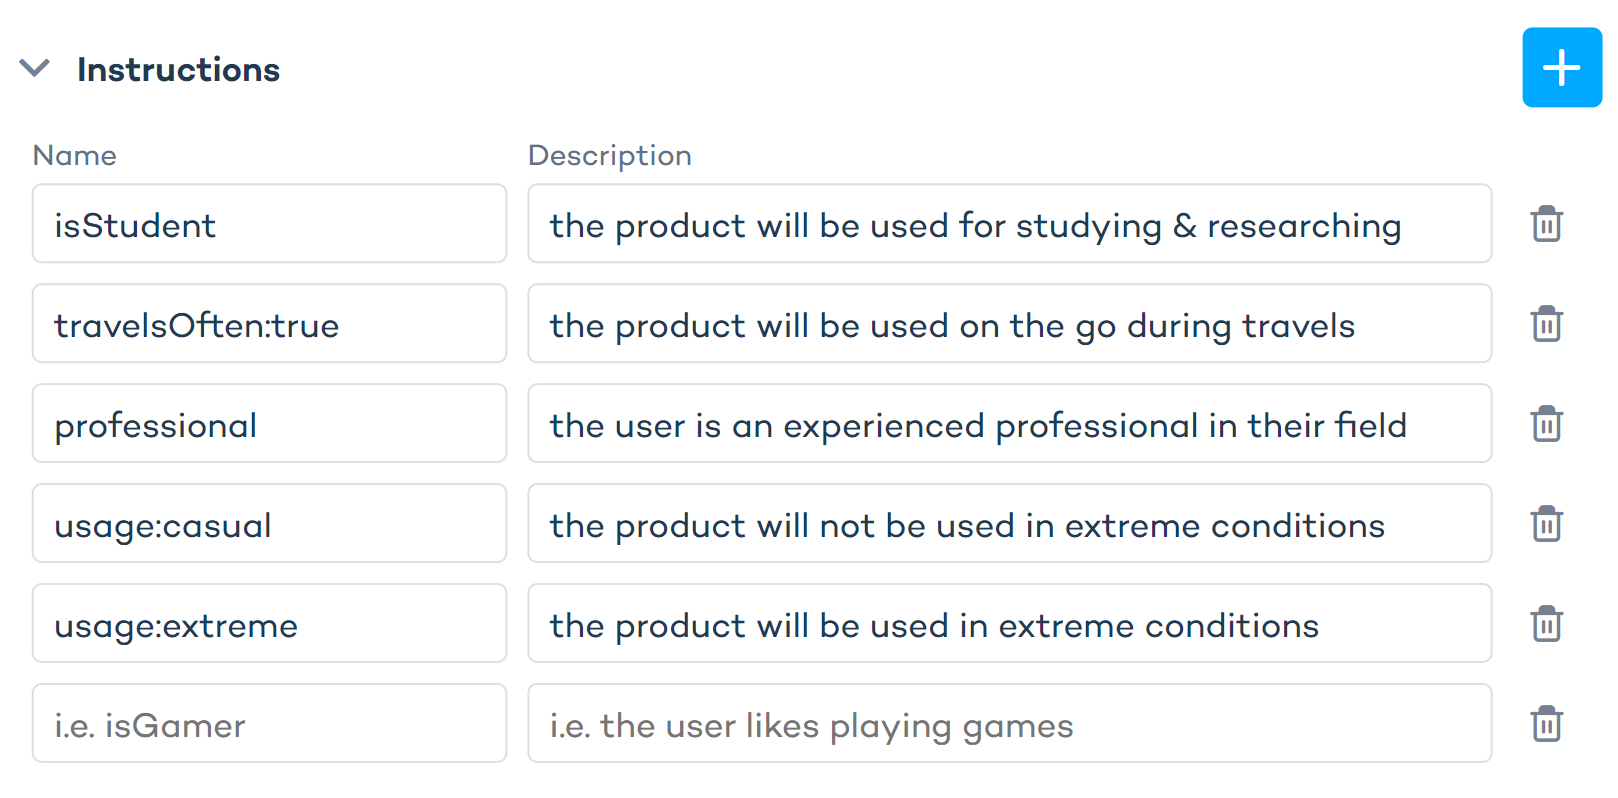
The Instructions section is where you can provide information about the customer context to help Zoe personalize product detail descriptions.
This can include:
- browser history
- search history
- categories visited
- products clicked
- Digital Assistant
Through the use of matching keys, you can specify and describe multiple customer contexts that Zoe can consider.
Learn more about Context.
Name
Name is used to identify a particular context characteristic or buyer persona.
Set up each attribute to reflect customer insights.
- Choose a String attribute for detailed behaviors like
usageFrequencyorexpertise, assigning values such as "daily" or "professional." - For simple yes/no decisions, use a Boolean attribute like
isProfessionaland set it to true or false.
Description
Description provides a textual explanation of the instruction.
| Context attribute | Type | Value | Name | Description |
|---|---|---|---|---|
| usage | String | extreme | usage:extreme | "the product will be used in extreme conditions" |
| travelsOften | Boolean | True | travelsOften | "the product will be used while travelling from place to place" |
| travelsOften | Boolean | False | travelsOften:false | "the product won't often be used while travelling" |
| character | string | batman | character:batman | "the user likes batman-themed products" |
The following guidelines are recommended for writing Descriptions:
- The product should have ...
- The product will be used for ...
- The product needs to have ...
- The laptop ...
- The mattress ...
- The product needs to be ...
Avoid phrases like:
- The customer needs ...
- The customer requires ...
Configure Tone of voice
Tone of voice defines the style of the generated product description. It instructs Zoe’s LLMs on how to articulate its responses.
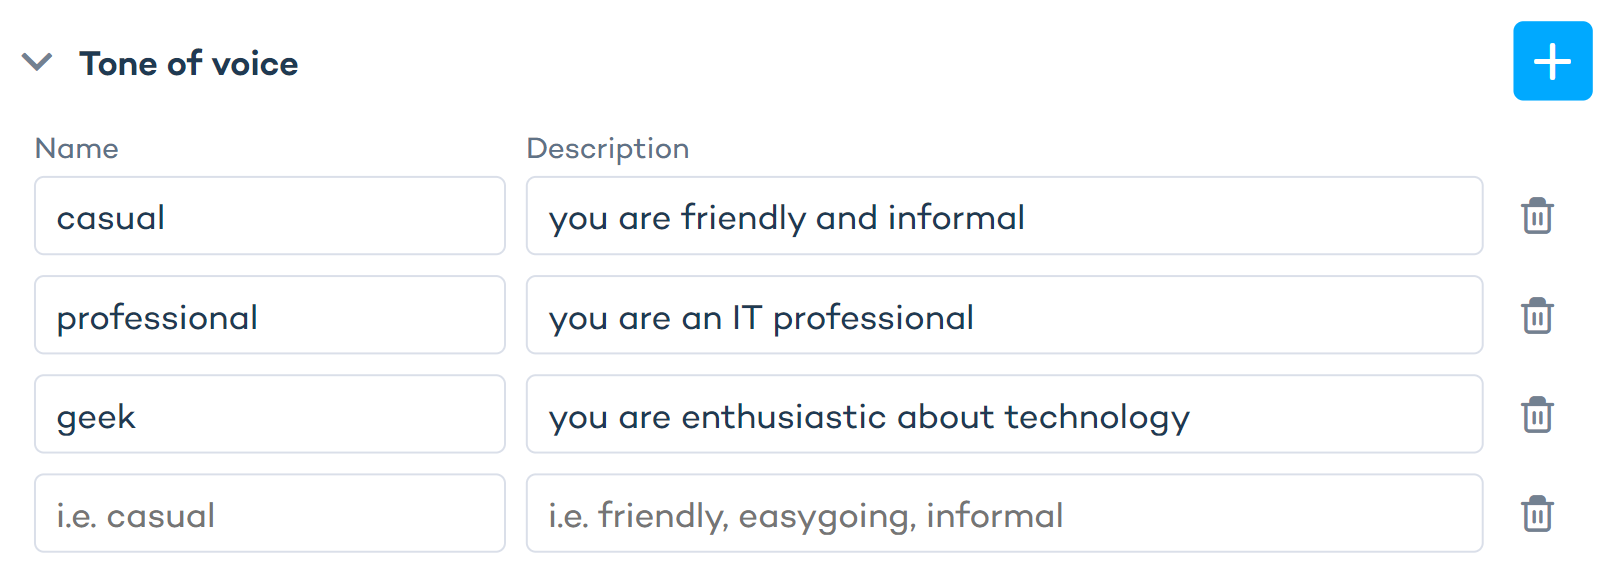
Tone of Voice requires two distinct values:
- Name: the relevant context attribute and its value.
- Description: the specific tone you want to adopt.
| Name | Description | Expected result |
|---|---|---|
| isDeveloper | You are a software developer highlighting this product's features to another developer. | The product description uses technical jargon and highlights the performance. |
| travelsOften | You are a traveler who likes freedom and adventure. | The description highlights the equipment's endurance and portability. It also references travel and adventure. |
| funny | funny and light | The description is light-hearted, uses slang, and focuses on trendy features. |
Both 'Tone of voice' and 'Instructions' are activated in the same way - by a context variable. In other words, the same variable could activate an instruction and tone of voice.
Configure support topics
In this section, you can specify how Zoe Advisors should respond to non-product related questions.
For example, if a customer asks about return policies, you can configure Zoe to provide a link to the page on your website where they can find this information.
This is especially useful for frequently asked questions about:
- Return policy
- Shipping and delivery options
- Payment methods
- Opening hours
- General support
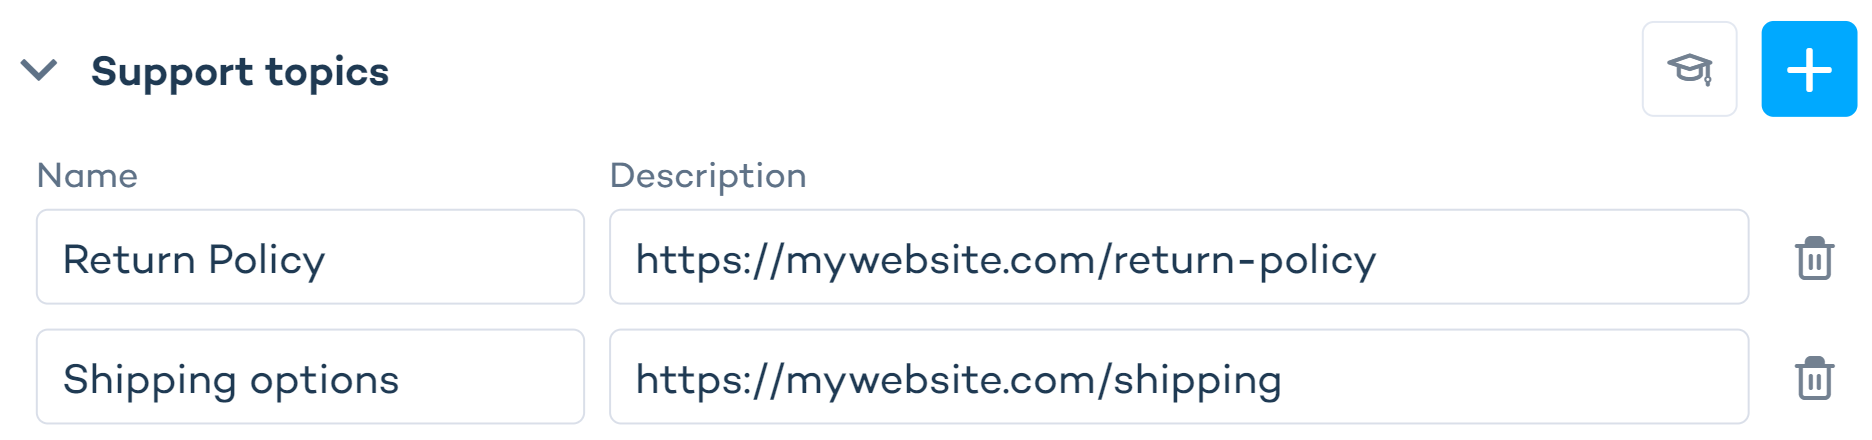
Make sure to enter a valid URL in each text field.
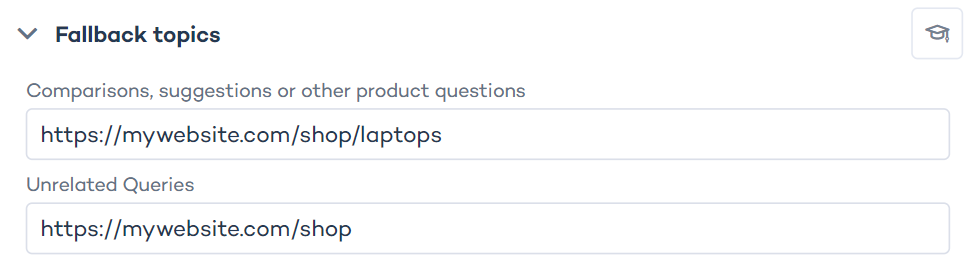
Configure fallback topics
This setting allows you to control conversations with Zoe that do not refer to the currently viewed product.
Zoe will not provide answers to non-product related questions (such as "Do you like cookies?”) and will not engage in inappropriate conversations.
Your customers may want to ask about similar product (e.g. cheaper laptops) or a completely different product or service. Here you can define where your customers should be redirected to.
Examples:
- Comparisons, suggestions or other product questions from same category:
https://mywebsite/shop/laptops - Unrelated queries:
https://mywebsite/shop
Configure company information
Here, you can provide Zoe with information about your company, such as your boilerplate or company description and purpose, to help Zoe generate responses as a representative of your company.

For example, you can name your main competitors to prevent Zoe from directing users to their shops.
Edit or export a Zoe Advisor
The following options are available for every Zoe Advisor:
- “Publish” (the cloud icon)
- “Edit” (the pencil icon)
- More options (the three dots icon):
- Edit name
- Open preview
- Duplicate
- Export configuration
- Delete
Use the “Export configuration” option if you want to save your Zoe configuration (Instructions, Tone of voice, etc.) as a JSON file. These configuration files can be imported into Advisor Studio using the “Import” button in the top right corner.