Embed a Digital Assistant
Integrating a Zoovu Assistant into your website is straightforward using the js-loader script. Here's a quick guide to get you started and customize your assistant's behavior.
Basic integration
To embed a Zoovu Assistant on your page:
- Edit a Digital Assistant.
- Go to the "Integration" tab and copy the script.
- Insert the code snippet into the body section of your HTML.
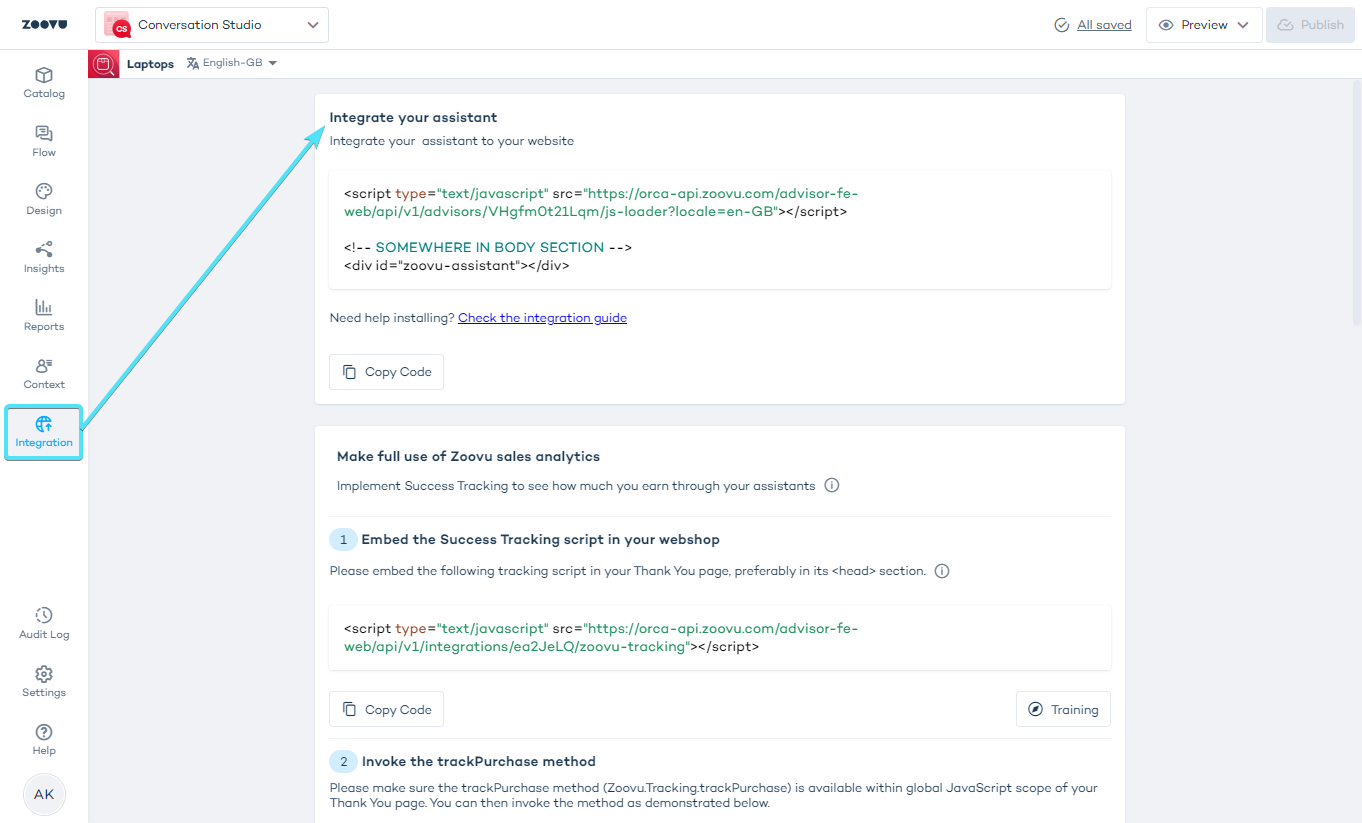
<script type="text/javascript" src="https://orca-api.zoovu.com/advisor-fe-web/api/v1/advisors/w80Lthm/js-loader?locale=en-IE"></script>

<div id="zoovu-assistant"></div>
Customize the Digital Assistant's behavior
You can adjust the assistant's functionality by adding parameters to the js-loader URL. These parameters are appended at the end of the URL and separated by an &.
Example URL with parameters:
https://orca-api.zoovu.com/advisor-fe-web/api/v1/advisors/w80Lthm/js-loader?locale=en-IE&disableSessionPersistence=true
Parameters and their effects
| Parameter | Effect | Implications |
|---|---|---|
disableSessionPersistence=true | Stops the session from being stored | - Lead generation (leadgen) won't work. |
- Each visit or return from a product detail page (PDP) starts a new session.
- Improves assistant speed by avoiding the need to serialize/deserialize large sessions. |
|
disableStoringSessionId=true| Prevents the session ID from being stored as a cookie, though the session is still sent to Redis | - Leadgen can still function. - Returning users or those coming from a PDP page will start a new session. |
|
disableTracking=true| Disables tracking for the Zoovu Assistant | - You won’t have access to reporting data. | |disableFirstPaint=true| Disables the first paint | - Even if you have this feature flag enabled, it will be disabled. |