Translate your theme
If you're creating Digital Assistants in multiple languages, make sure to translate the theme itself separately within Experience Designer.
Here's how to get started:
Step 1: Add new locales to your Digital Assistant in Conversation Studio. (Otherwise, translations won't be available.) Step 2: Add a new language to Experience Designer. Step 3: Go to Experience Designer to translate the theme separately for each locale:
- Translate labels and texts
You can switch between manual and auto-translation based on your needs, whether you’re translating just a few words or handling bulk translations.
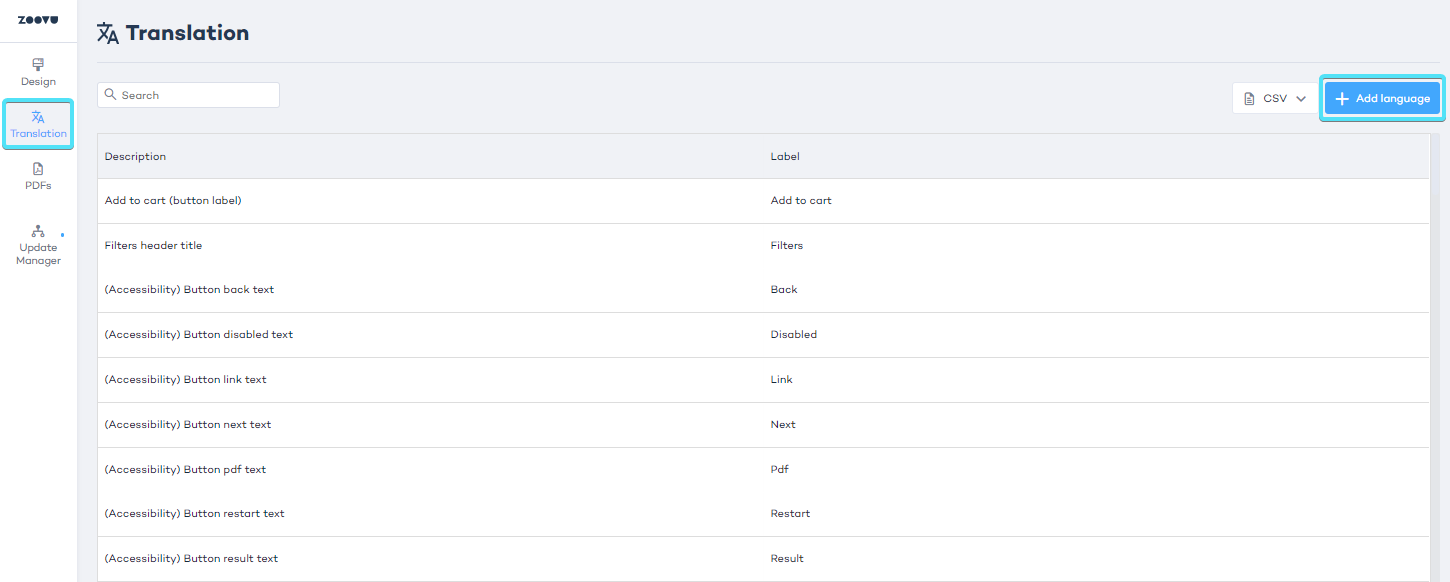
Add a new language to Experience Designer
- In Experience Designer, navigate to the Translation tab. You will see the list of all existing labels in the current theme that can be translated.
Labels are the texts used throughout your assistant’s theme, like the text on buttons ("Back," "Next," "Add to cart"), navigation steps, and other interface elements.
- Click the "Add language" button to add a new locale or language. The new language will then be available in the list for translation.
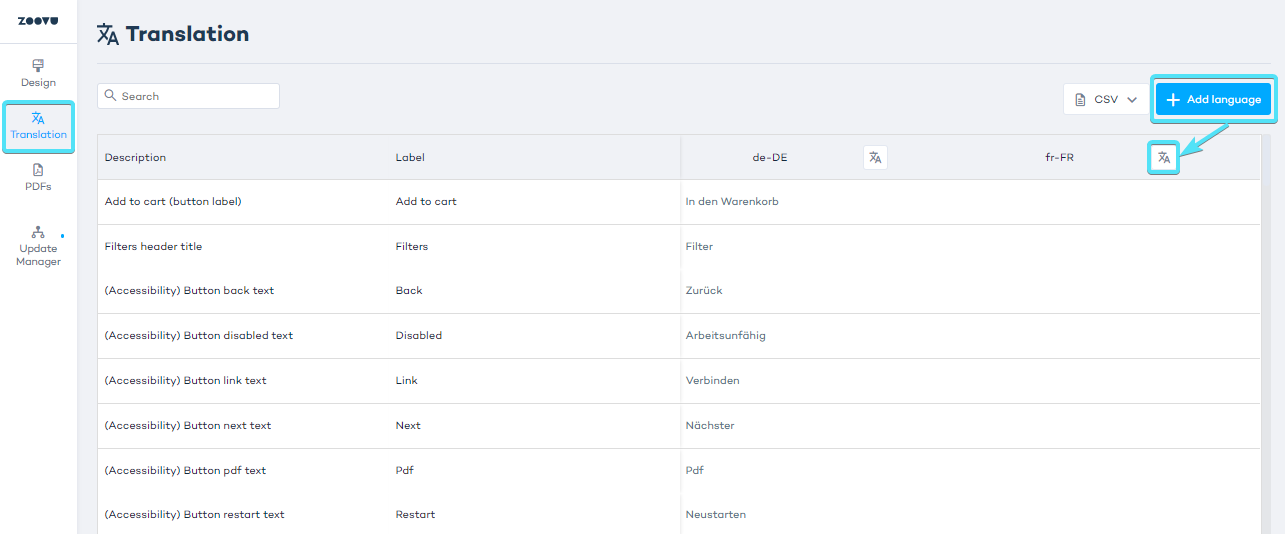
Auto-translate your theme
Zoovu uses Azure Translation Services for auto-translations. The service translates individual words or phrases without full context.
This is why we recommend always manually reviewing auto-translations in all studios:
- Conversation/Configuration Studios: for questions, answers, and properties.
- Experience Designer: for labels, additional texts, and accessibility.
- Click the auto-translate icon next to each language to automatically translate all labels, texts, and buttons.
- If you need to change any translations, double-click on the cell and manually adjust the text.
If you have several locales to add, export the .csv file, open it on your computer, and type the locale names in each column. Save the file and import it back into Experience Designer to see all locales successfully added.
When you change label names directly on the canvas in ExD, a new label entry will appear in the Translation tab. Make sure to add translations for all languages to keep everything consistent.
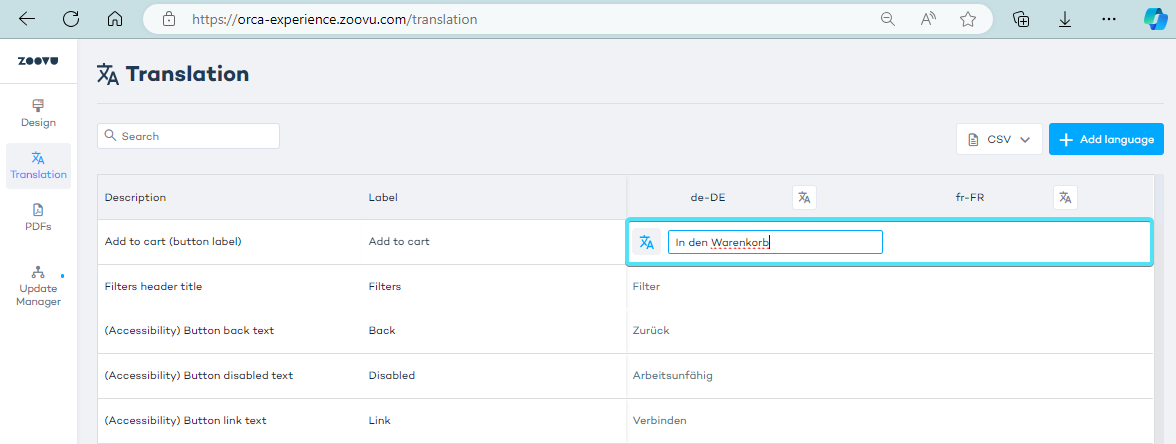
Translate your theme manually
- Double-click the translation cell for the chosen language and label to fill in the translation.
- Click Export to download a .csv file.
- Fill in the translations, save the file, and use the Import feature to upload the file back to Experience Designer.